Phases
The phase is one of the main collaboration areas within Canopy. From here, users can work on findings, add assets, import tool data and share other information during delivery.
Access control
Access control is inherited from the project.
Phase-level access controls can also be defined explicitly. This allows you to grant phase level access to a user. For example, a user can have project level READ access, but ADMIN level access on one or more phases. Access control is set in the phase’s properties, which can be accessed by clicking on the edit icon on the phase view.
Note
Project access controls are still auihoritative.
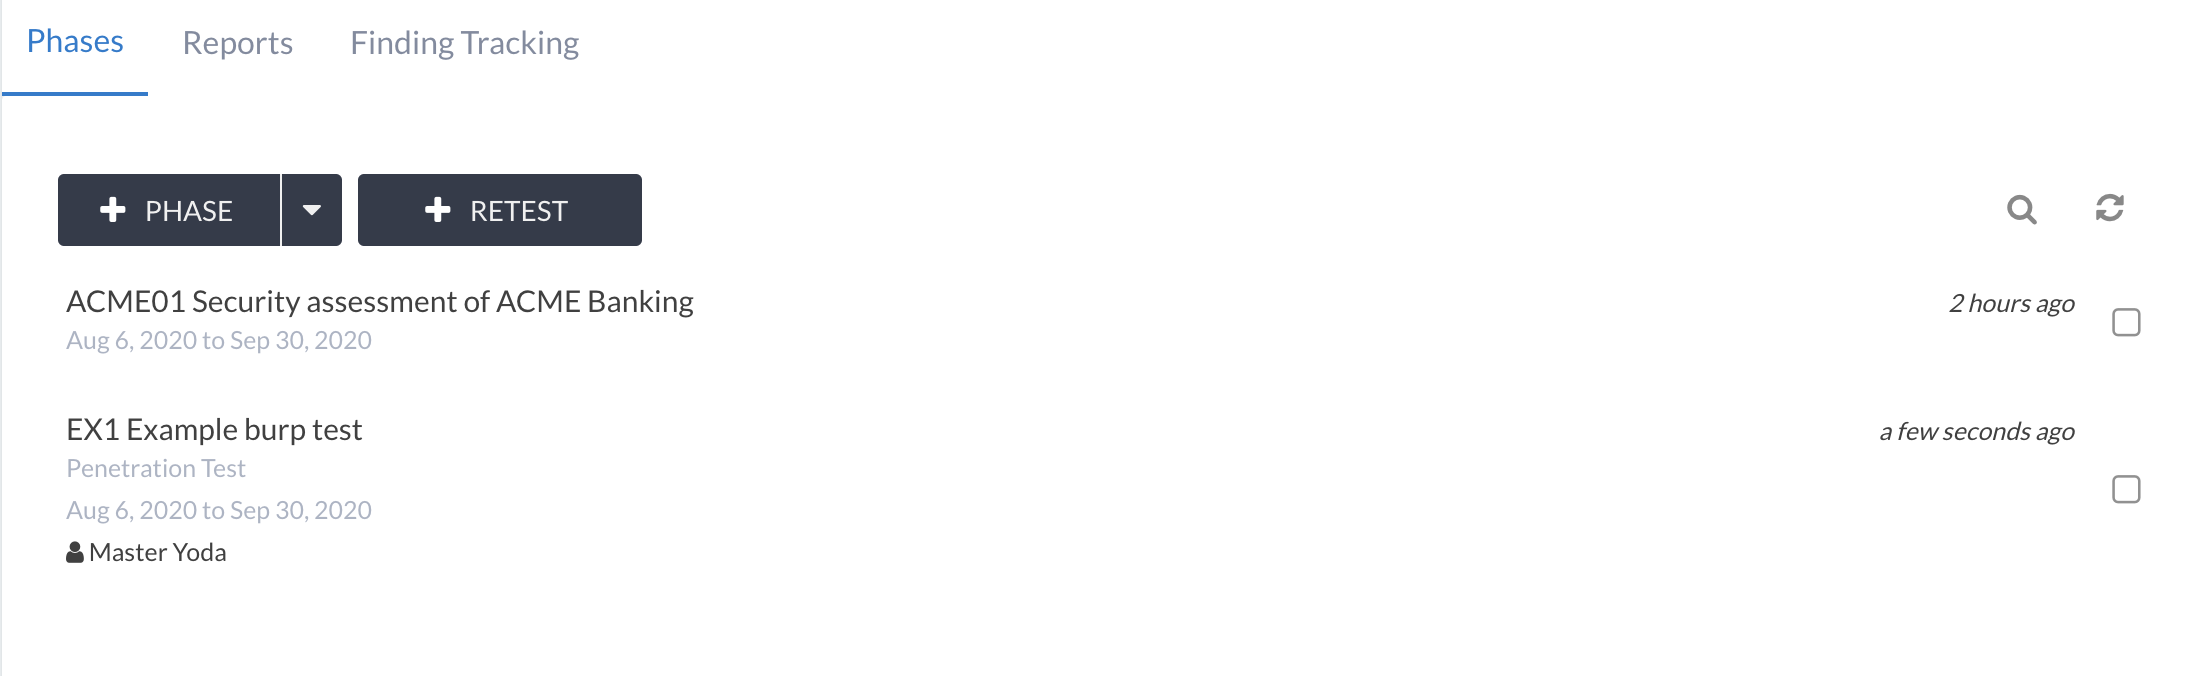
Listing phases
The phase list is available under the project view:
Adding a phase
Adding a phase can be carried out by a user with admin access to a project. A phase can be added during project creation and also from the project view, via the + PHASE button. When creating a phase, a unique title, reference and start/end/report due dates are required.
It is also possible to create a re-test phase by selecting a previous phase from the list of phases within the project.
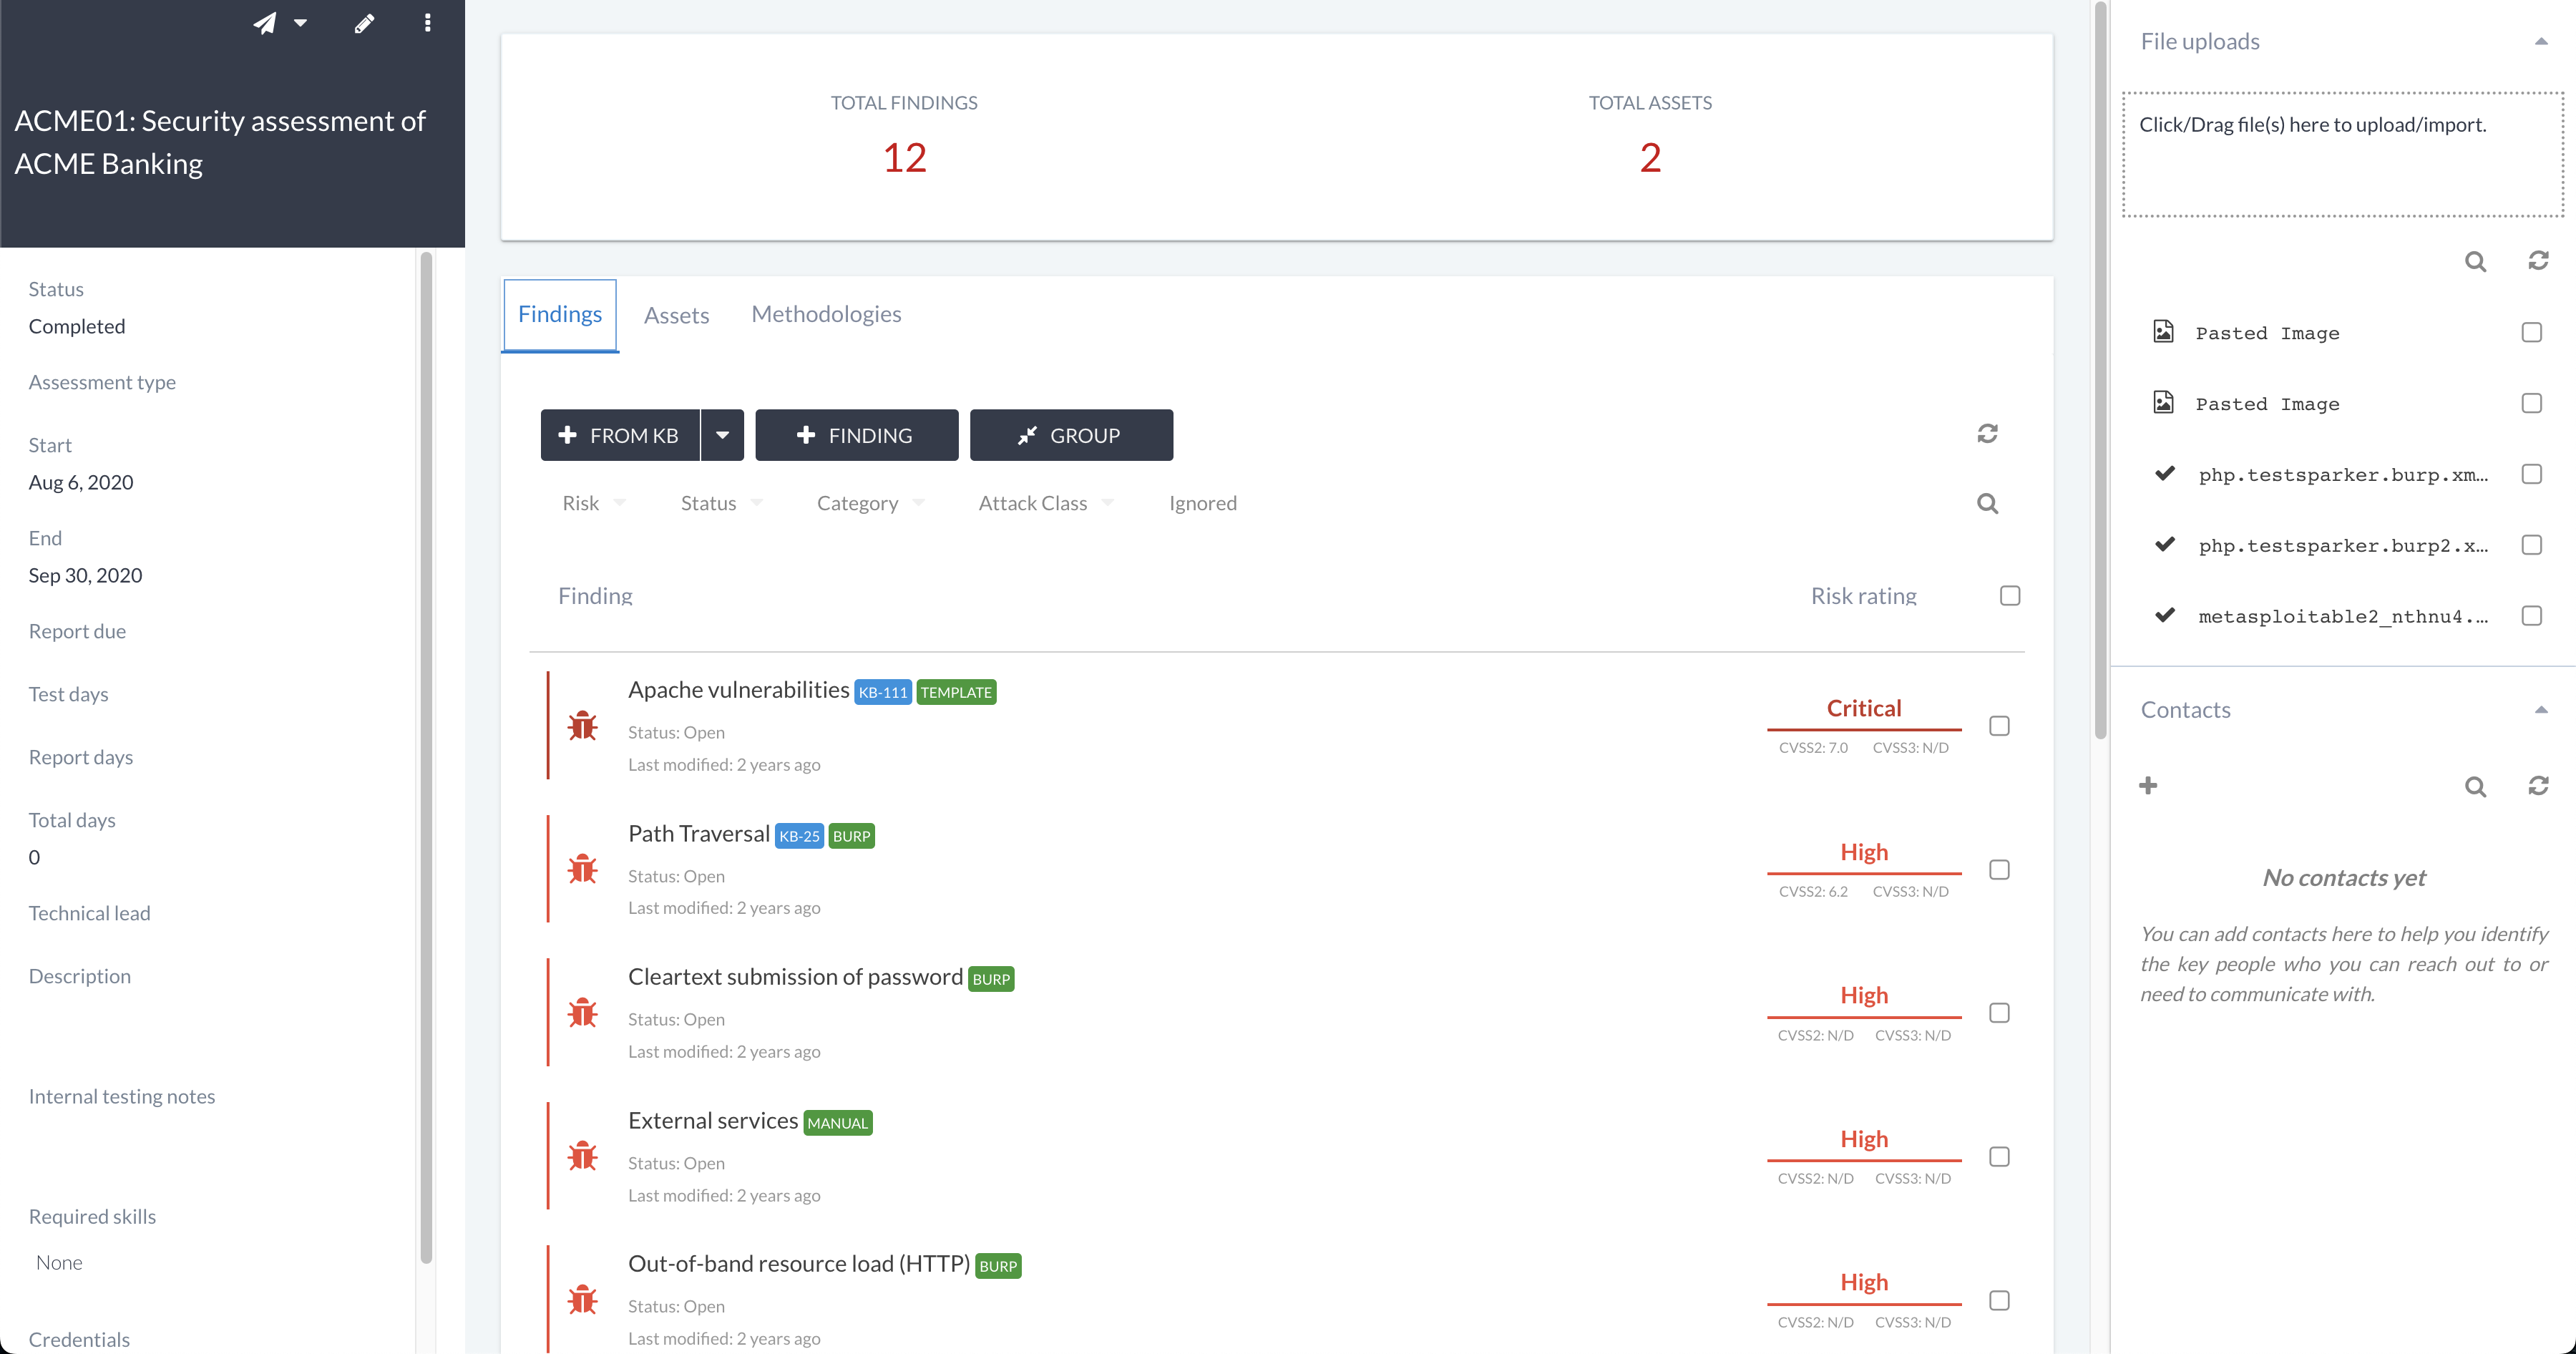
The phase view
The phase view provides background information about a phases scope and also access to key items such as findings, assets and methodologies. The phase view is also where tool results, screenshots and other data relating to the phase is uploaded.
Editing a phase
To edit a phase:
Access the phase view.
Click on the edit icon.
Update and save.
Re-test phase
A re-test phase allows you to create a new phase, with a selection of findings from previous phases.
To create a re-test phase, go to the Phases tab on a Project and click on the + RETEST PHASE button. This will present you with the New retest phase wizard:
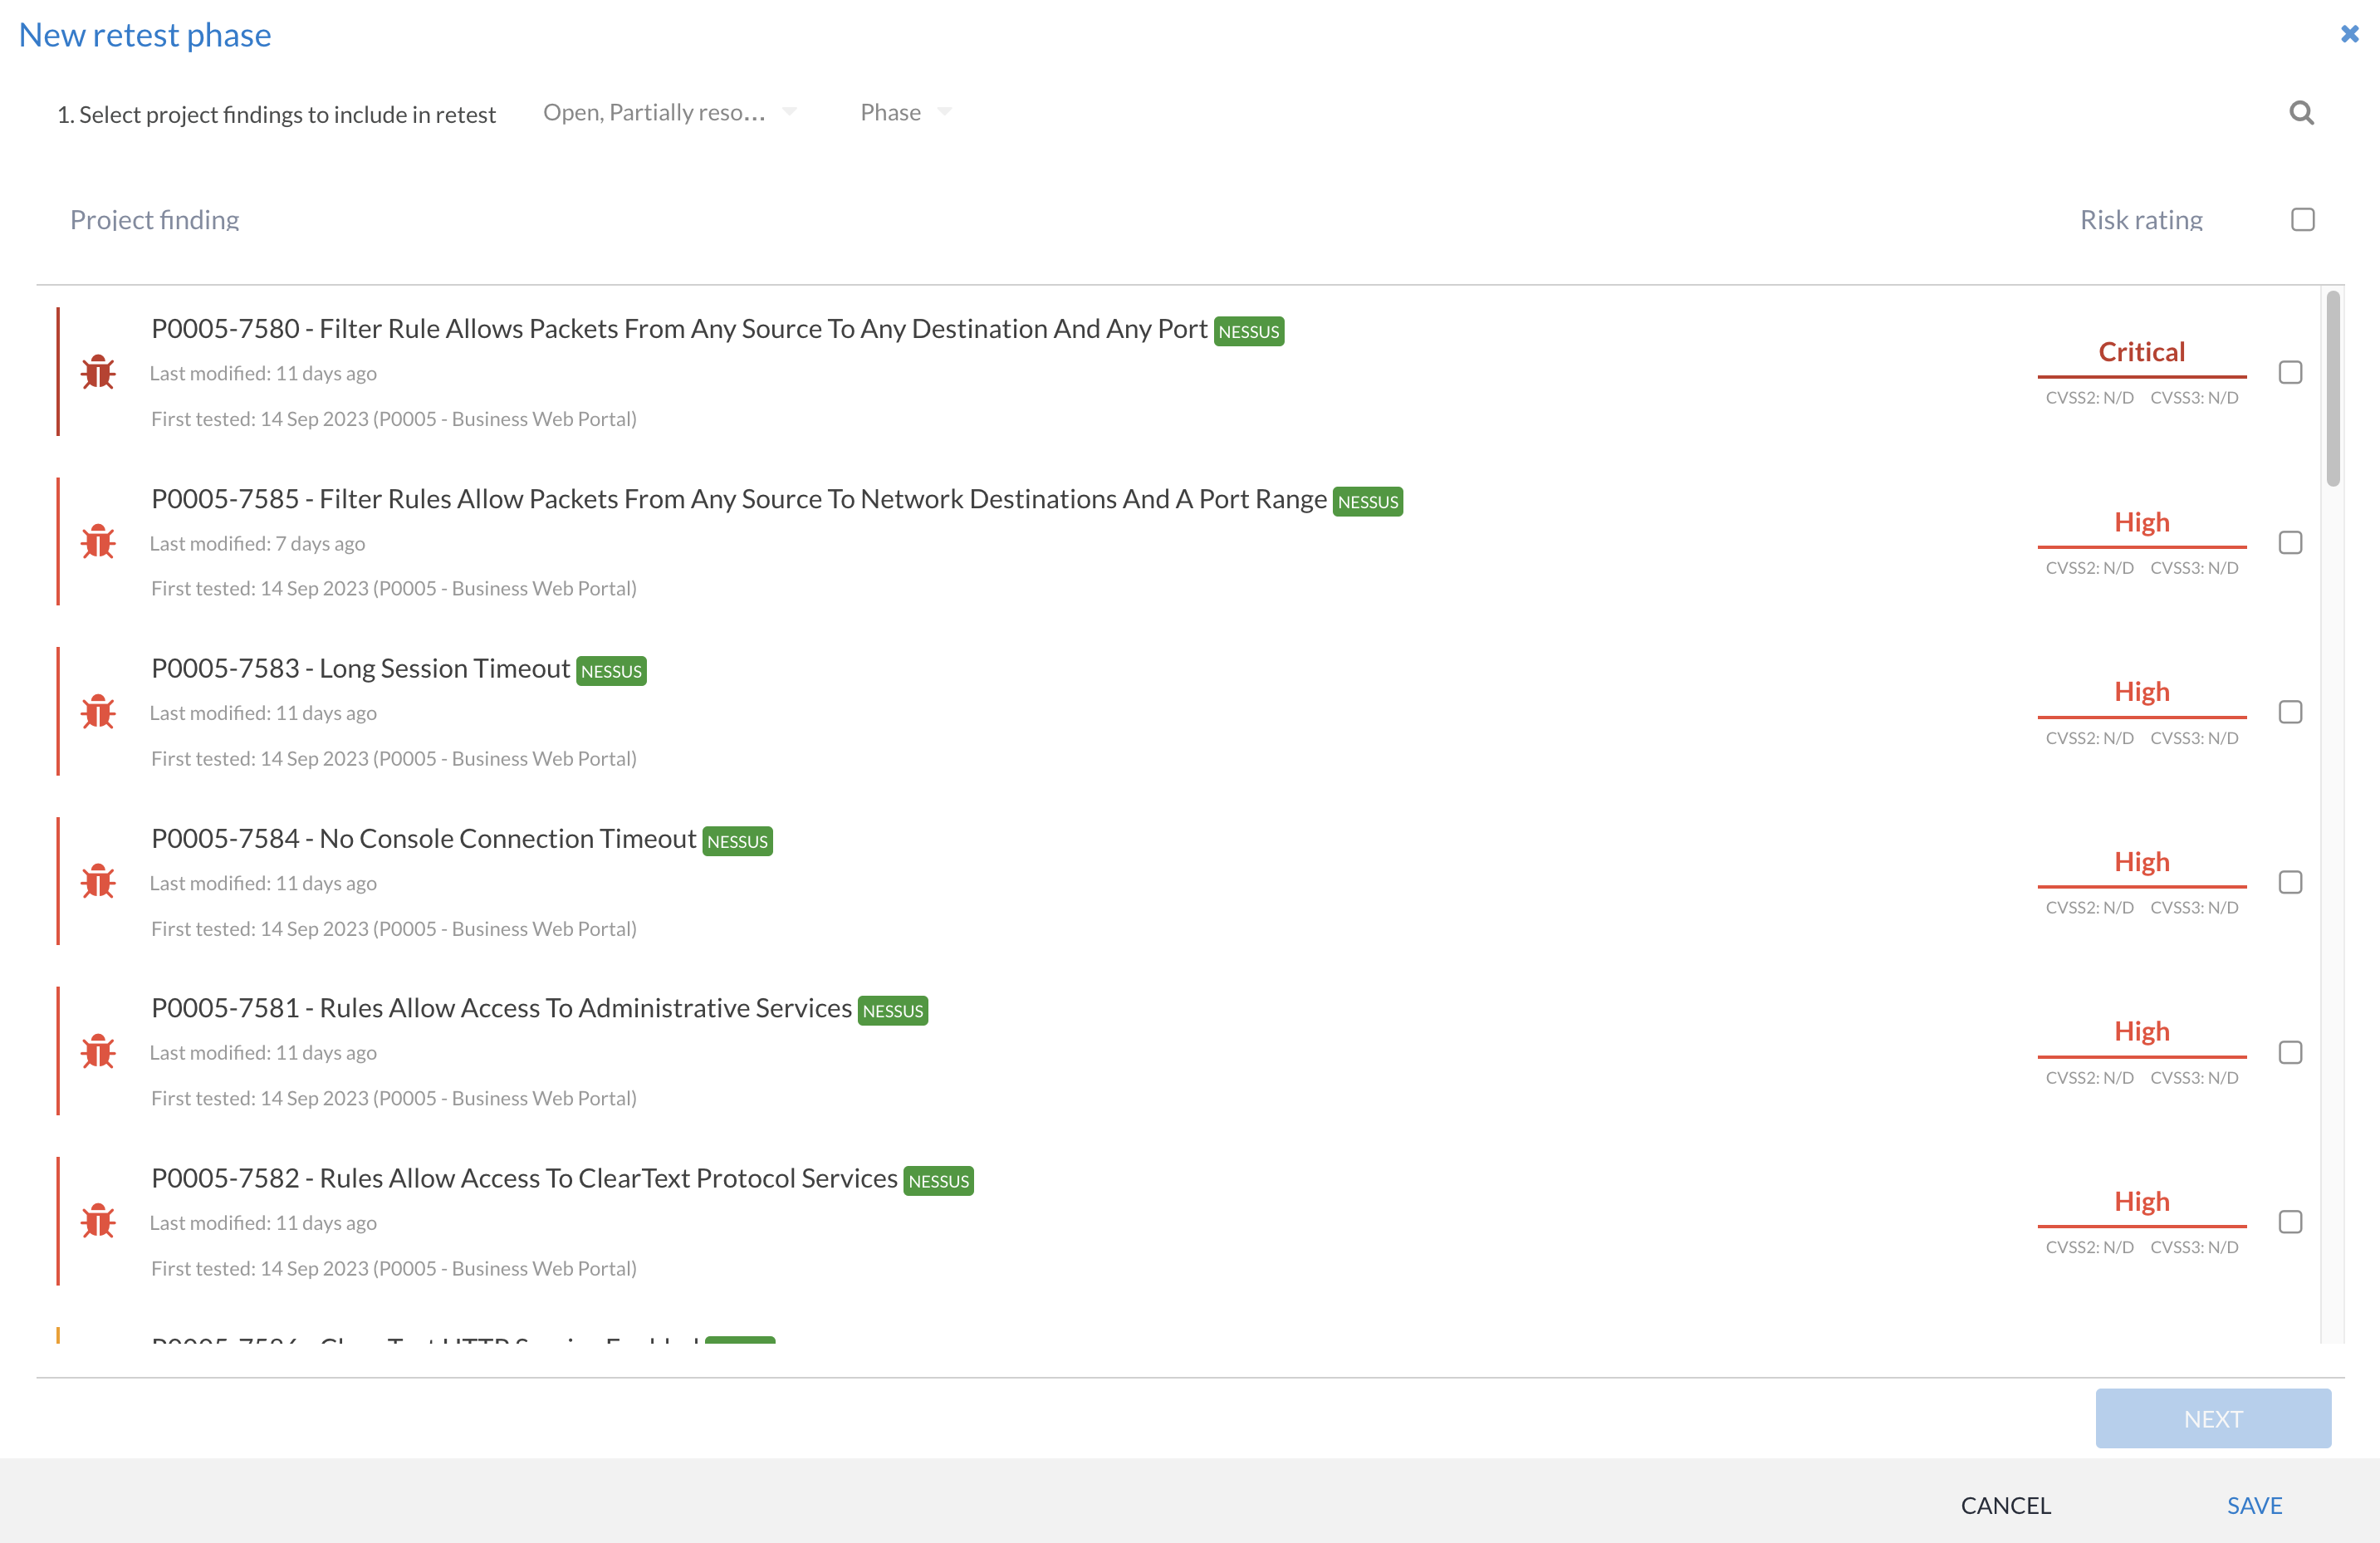
You can select the findings that you want to include in the phase (this can be adjusted later if required). Once you have selected the findings, click NEXT to set the rest of the phases properties, and then SAVE.
Note
Findings are selected from the project level. These are currently called “Project Findings”, which act as links to the latest version of the finding that has been tested. This allows for the original/previous finding to be maintained. The tester can then update all of the relevant content during the re-test.
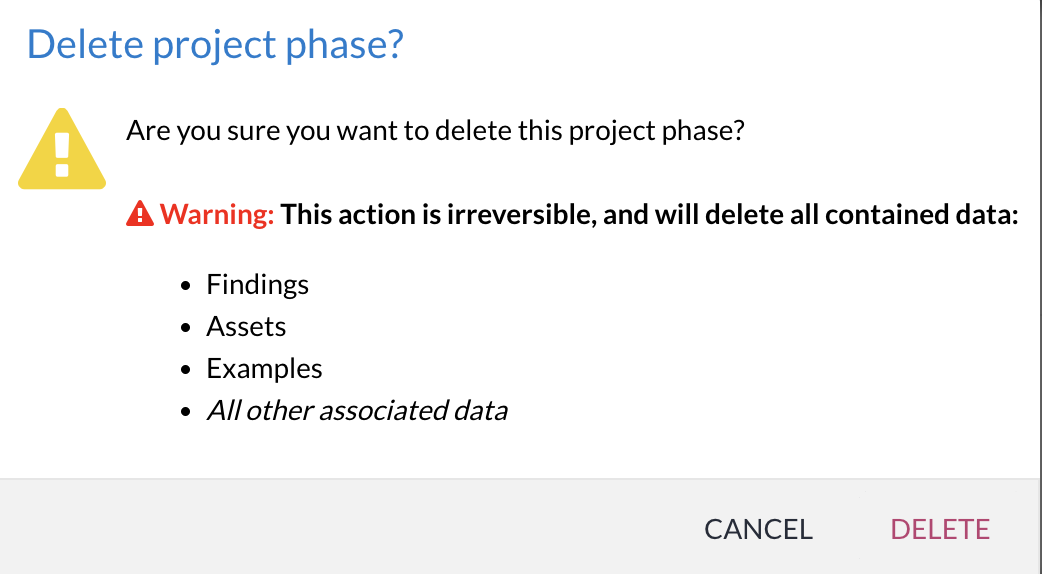
Deleting a phase
Warning
This is a one way process and cannot be undone.
Phase deletion should only occur when the data is no longer required or when an error has been made. Phase edit permissions are required to delete a phase.
To delete a phase:
Access the phase view or select the phases on the project view.
Click the phase delete button.
Exporting (New 3.9.0)
To access the export options click on the kebab menu (three vertical dots) on the top left of the phase view.
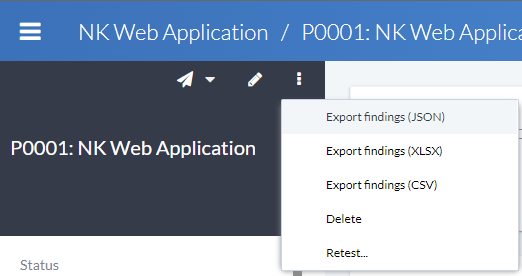
JSON export
Export Findings (JSON) will export all Findings, Assets and File uploads associated with the phase to a JSON tool data file.
The exported JSON file can be reimported into Canopy as a tool file via the File Uploads section of the phase located at the top right of the screen.
The JSON export option is the most complete of the available phase export options.
The JSON scheme of the export file can be found here Canopy Tool Data.
XLSX export
Export Findings (XLSX) will export all Findings and Assets associated with the phase to a XLSX tool data file. The exported XLSX file can be reimported into Canopy as a tool file via the File Uploads section of the phase located at the top right of the screen.
See XLSX tool import for more information on importing XLSX tool data files.
CSV export
Export Findings (CSV) will only export Findings associated with the phase to a CSV file.
Note that this CSV export cannot be reimported into Canopy. If your intent is to reimport the finding into Canopy, use the XLSX export instead.
Note
None of the export options will export the Methodologies associated with the phase. Methodologies can only be added to the phase manually, and not via the export/import functionality.
Importing
Findings and Assets can be imported via the File Uploads section of the phase located at the top right of the screen.
See Adding a finding via tool imports for more information on importing findings and assets from tool data.
See Supported tools for a list of tools supported for importing.