Findings
Findings (or vulnerabilities as they are also commonly known) are a cornerstone of Canopy. When working on a project, the results of the project are stored as findings, which are typically included in the report (some high level reports only make use of finding statistics).
A key aspect of the finding is its ability to record sufficient information to help the receiving client to understand the identified issue. The following text fields are defaults in Canopy, with their descriptions acting as a suggested use:
Summary: Used to capture a brief summary of the finding.
Background: Used to describe the background information necessary to understand the issue at hand. For example, a finding for SQL injection may include key information to help the user understand SQL injection from its origins, before describing the impact to the client in question.
Description: Used to explain the finding in more detail, specifically focusing on its applicability to the current client and the target asset of the project.
Recommendation: Used to provide recommendations to help address the issue and reduce risk.
Re-test update: Used to capture update information and other details noted during a re-test phase.
Access control
Access to findings is inherited from the project. This means that whomever has access to the project (read, write, admin) has the same authority over findings.
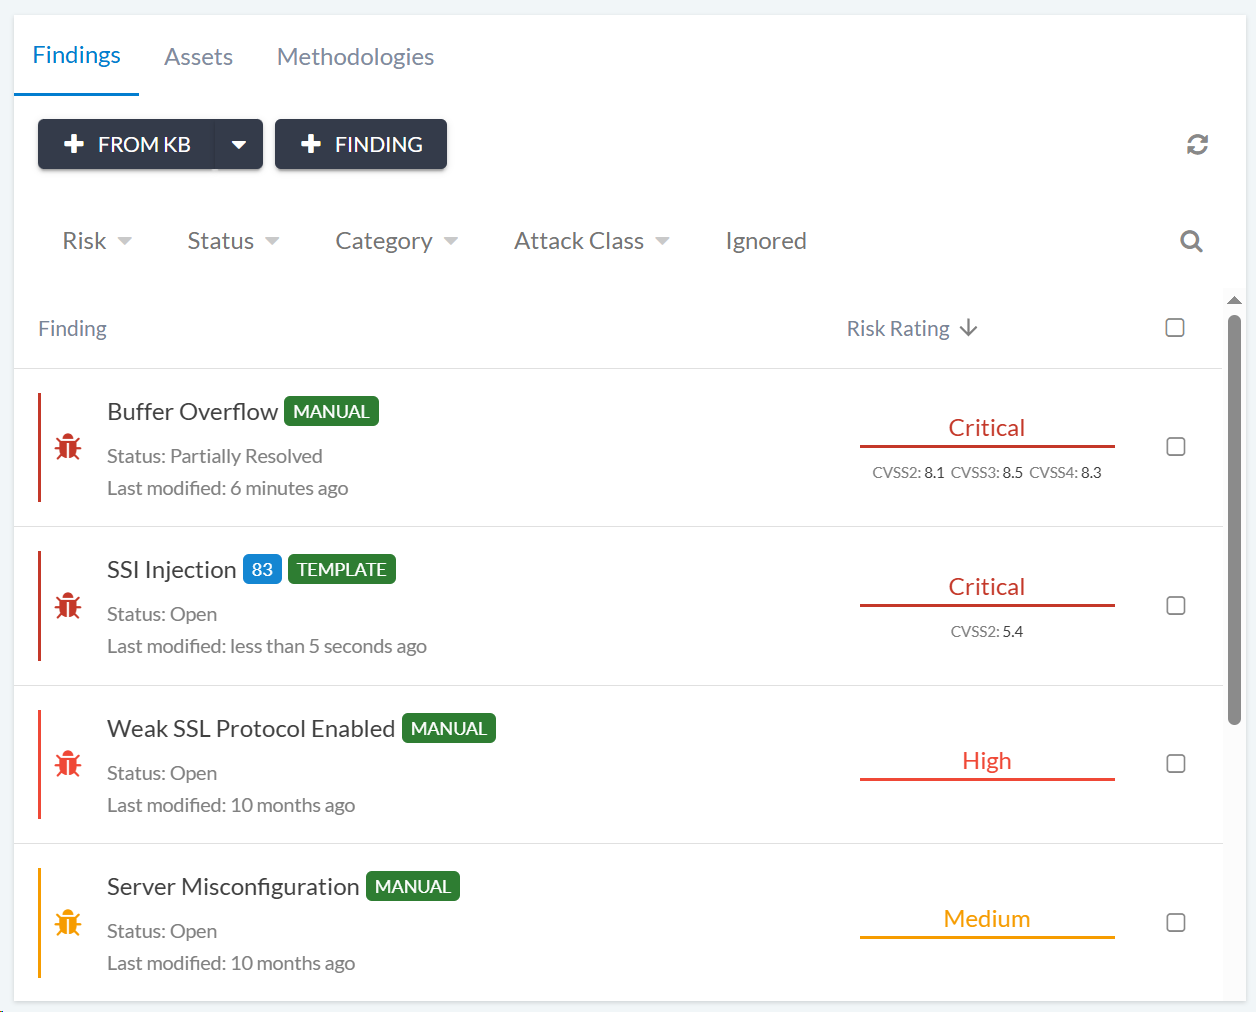
Listing findings
The finding list can be found under the phase view. This list allows a user to sort and filter findings, access them and add new findings (manually or from the KB).
Adding a finding
A Finding can be added to a Phase in different ways. The most common approaches are to re-use a Finding from the Findings KB, or to import from support tools. In this section, we expand on all options supported via Canopy’s web UI.
Starting with a blank finding
If you have no previous write-ups and you’re not working with tool imports, you can add a blank finding. To add a finding manually:
Access the phase of the project you’re working on.
Click the + FINDING button.
Complete the form and save.
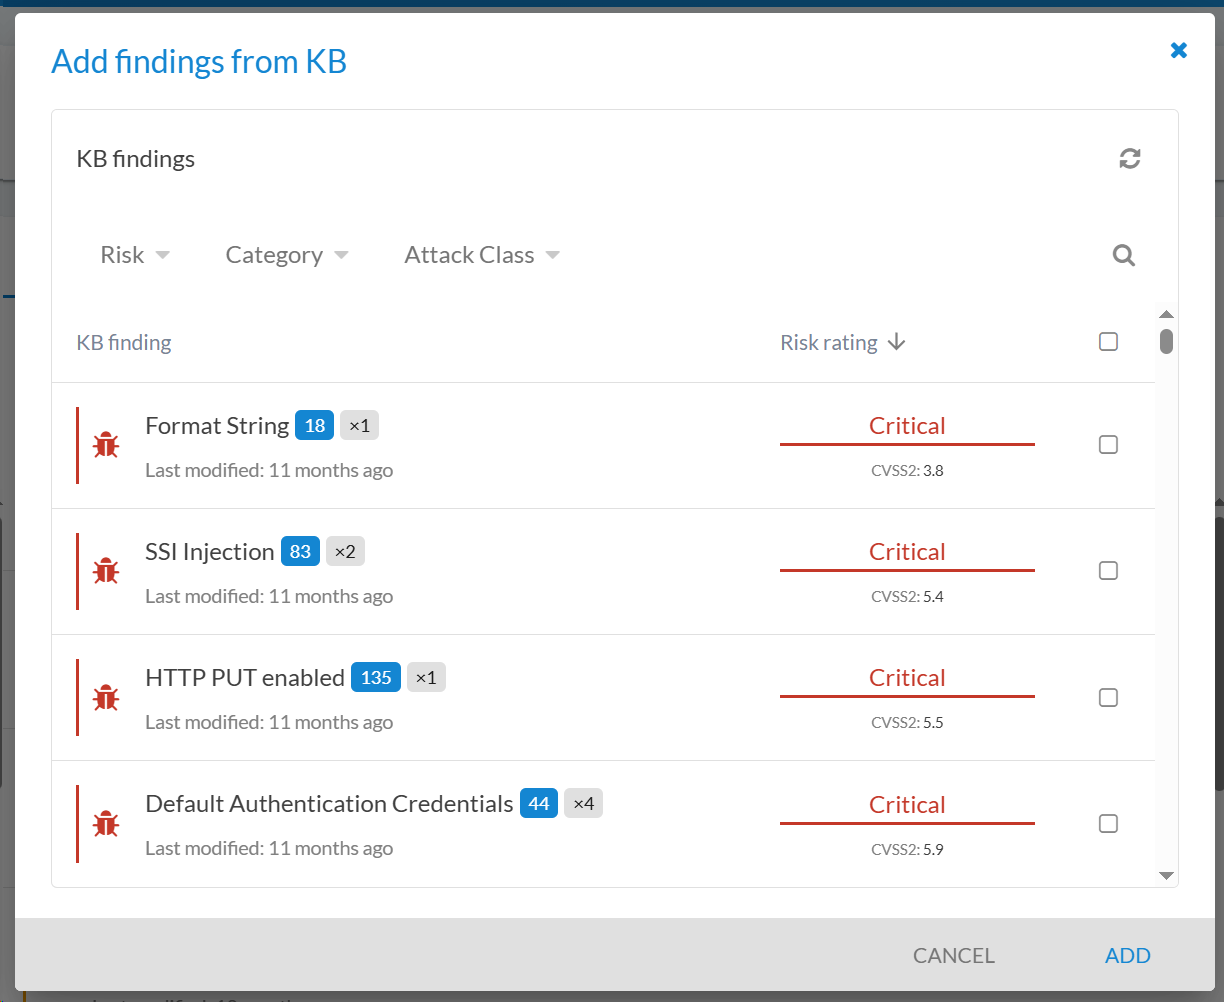
Adding a finding from the KB
To add a finding from the KB:
Access the phase of the project you’re working on.
Click the + FROM KB button.
Select the findings you want to add to the phase. It is possible to filter and multi-select.
Click the ADD button.
Adding a finding via tool imports
In order to add findings via the tool importer, simply drag and drop the supported tool results file onto the File Uploads section of the phase view. If the file is from a supported tool and in a supported format, the importing happens automatically. The import process copies data in order to creating findings, assets, examples, references and more.
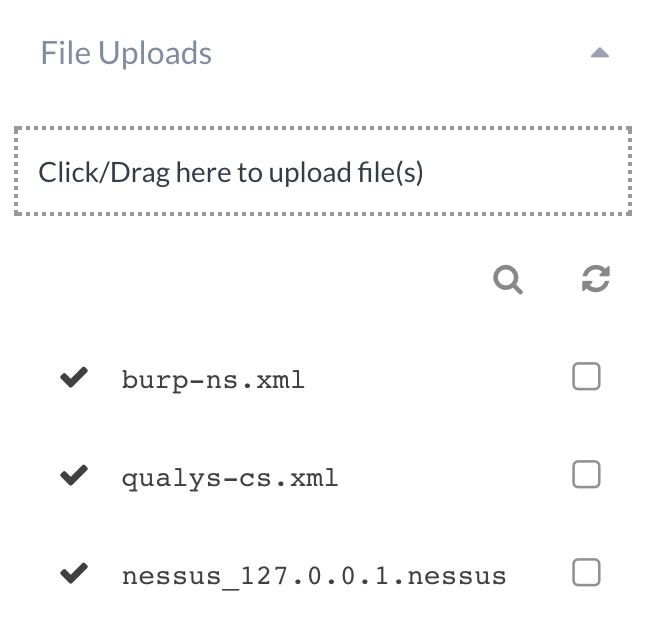
For further info on supported tools see Supported tools.
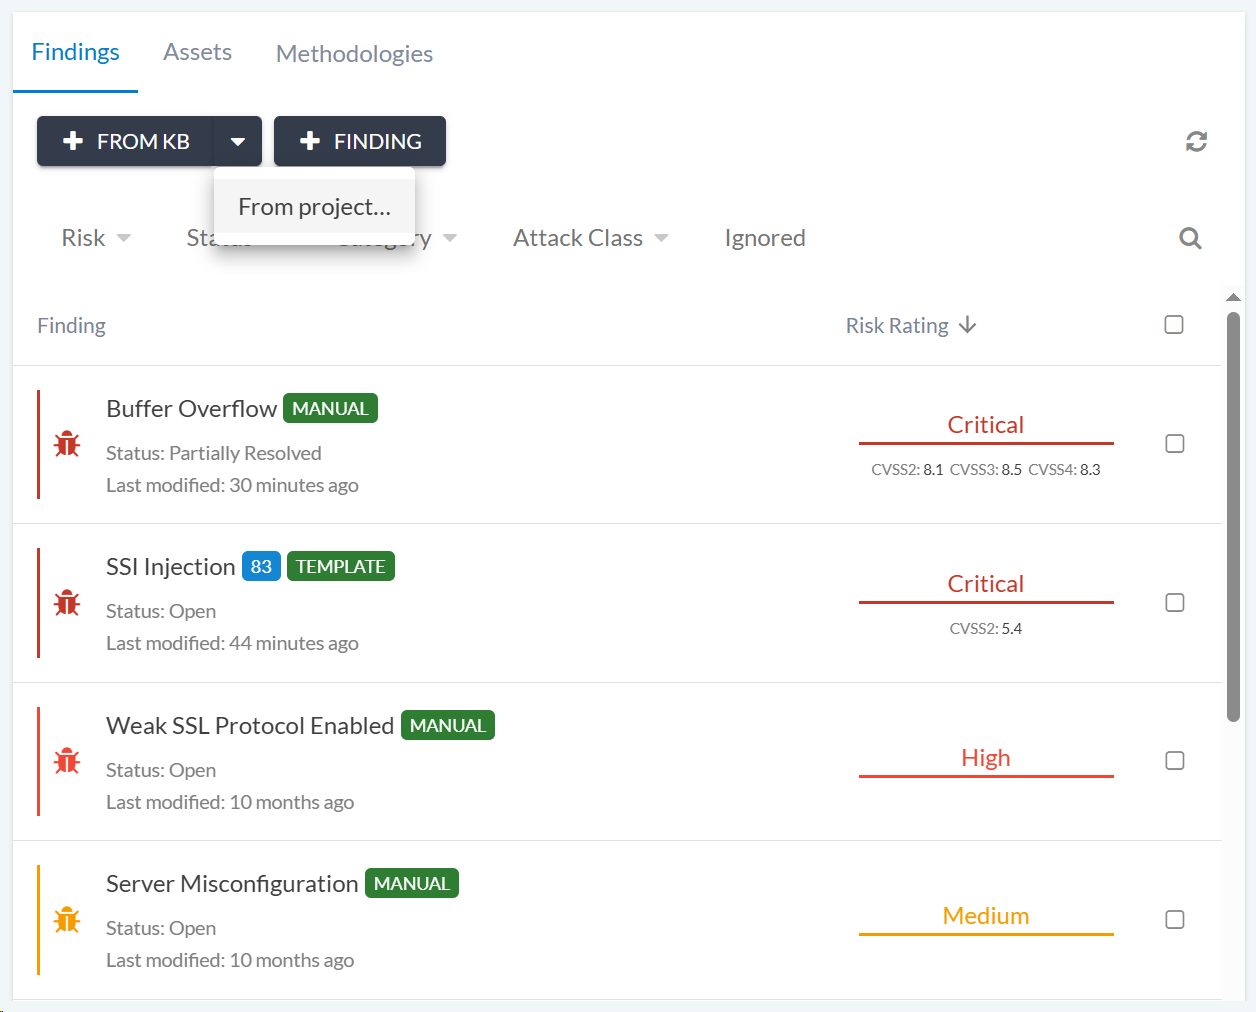
Adding a finding from the project
Canopy supports re-testing of previously reported findings. Findings can be selected during the re-test phase creation step. However, it’s also possible to add findings from previous phases via the From Project button, which is accessed by clicking on the + FROM KB button on the Phase view.
Editing a finding (Improved in 3.9!)
In Canopy 3.9, we have added support for inline editing. This makes Finding editing a lot more intuitive.
However, you can still edit in “all fields” mode:
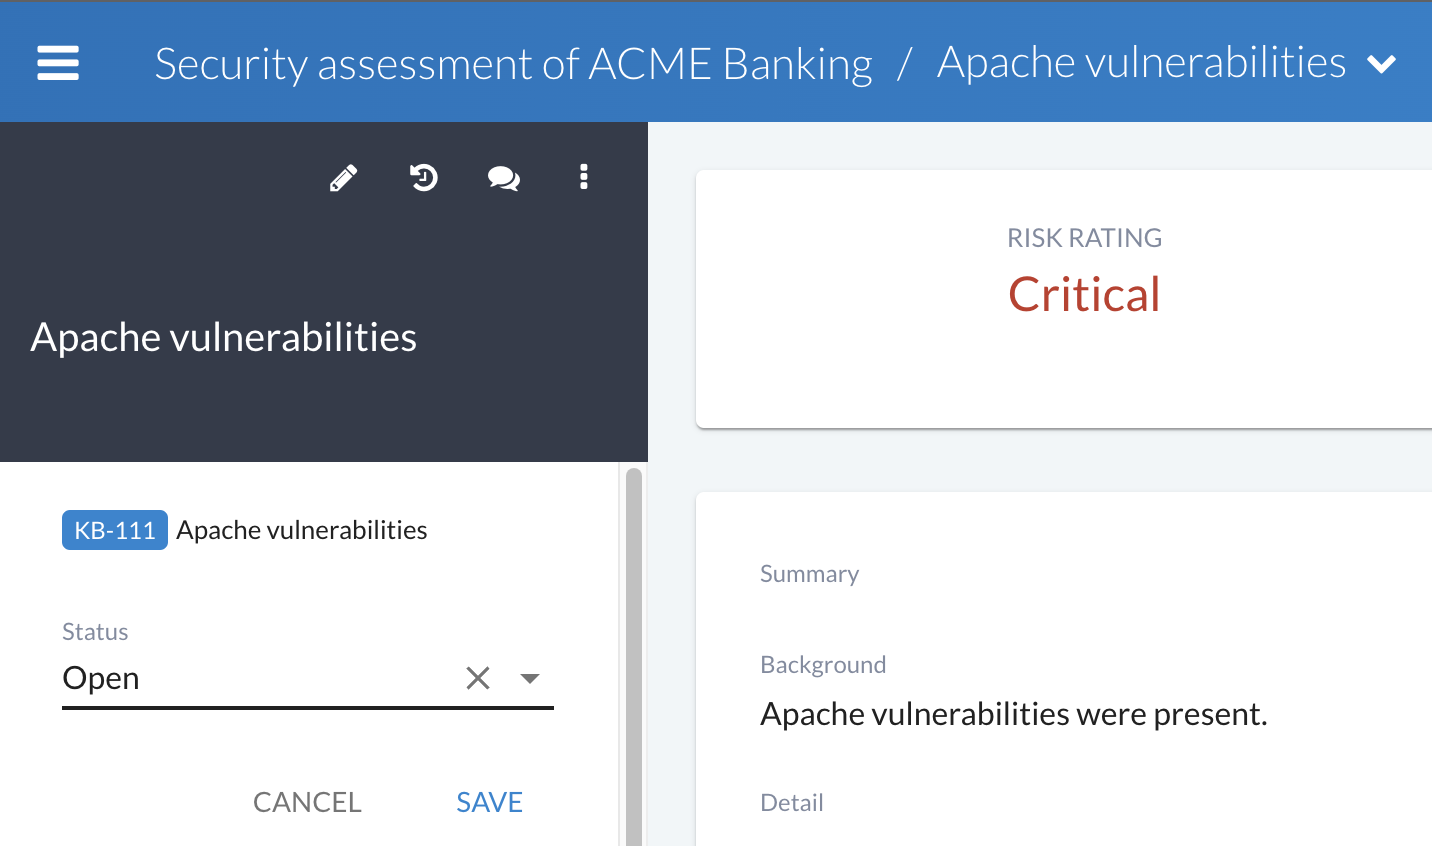
To edit a finding using inline editing, simply open the finding you want to work on, and click the specific field. Depending on the type of field, you may see a save button or not. If you do not see a save button, this means that once a change has been made (e.g. selection from a drop-down, change of a date), the change is saved automatically.
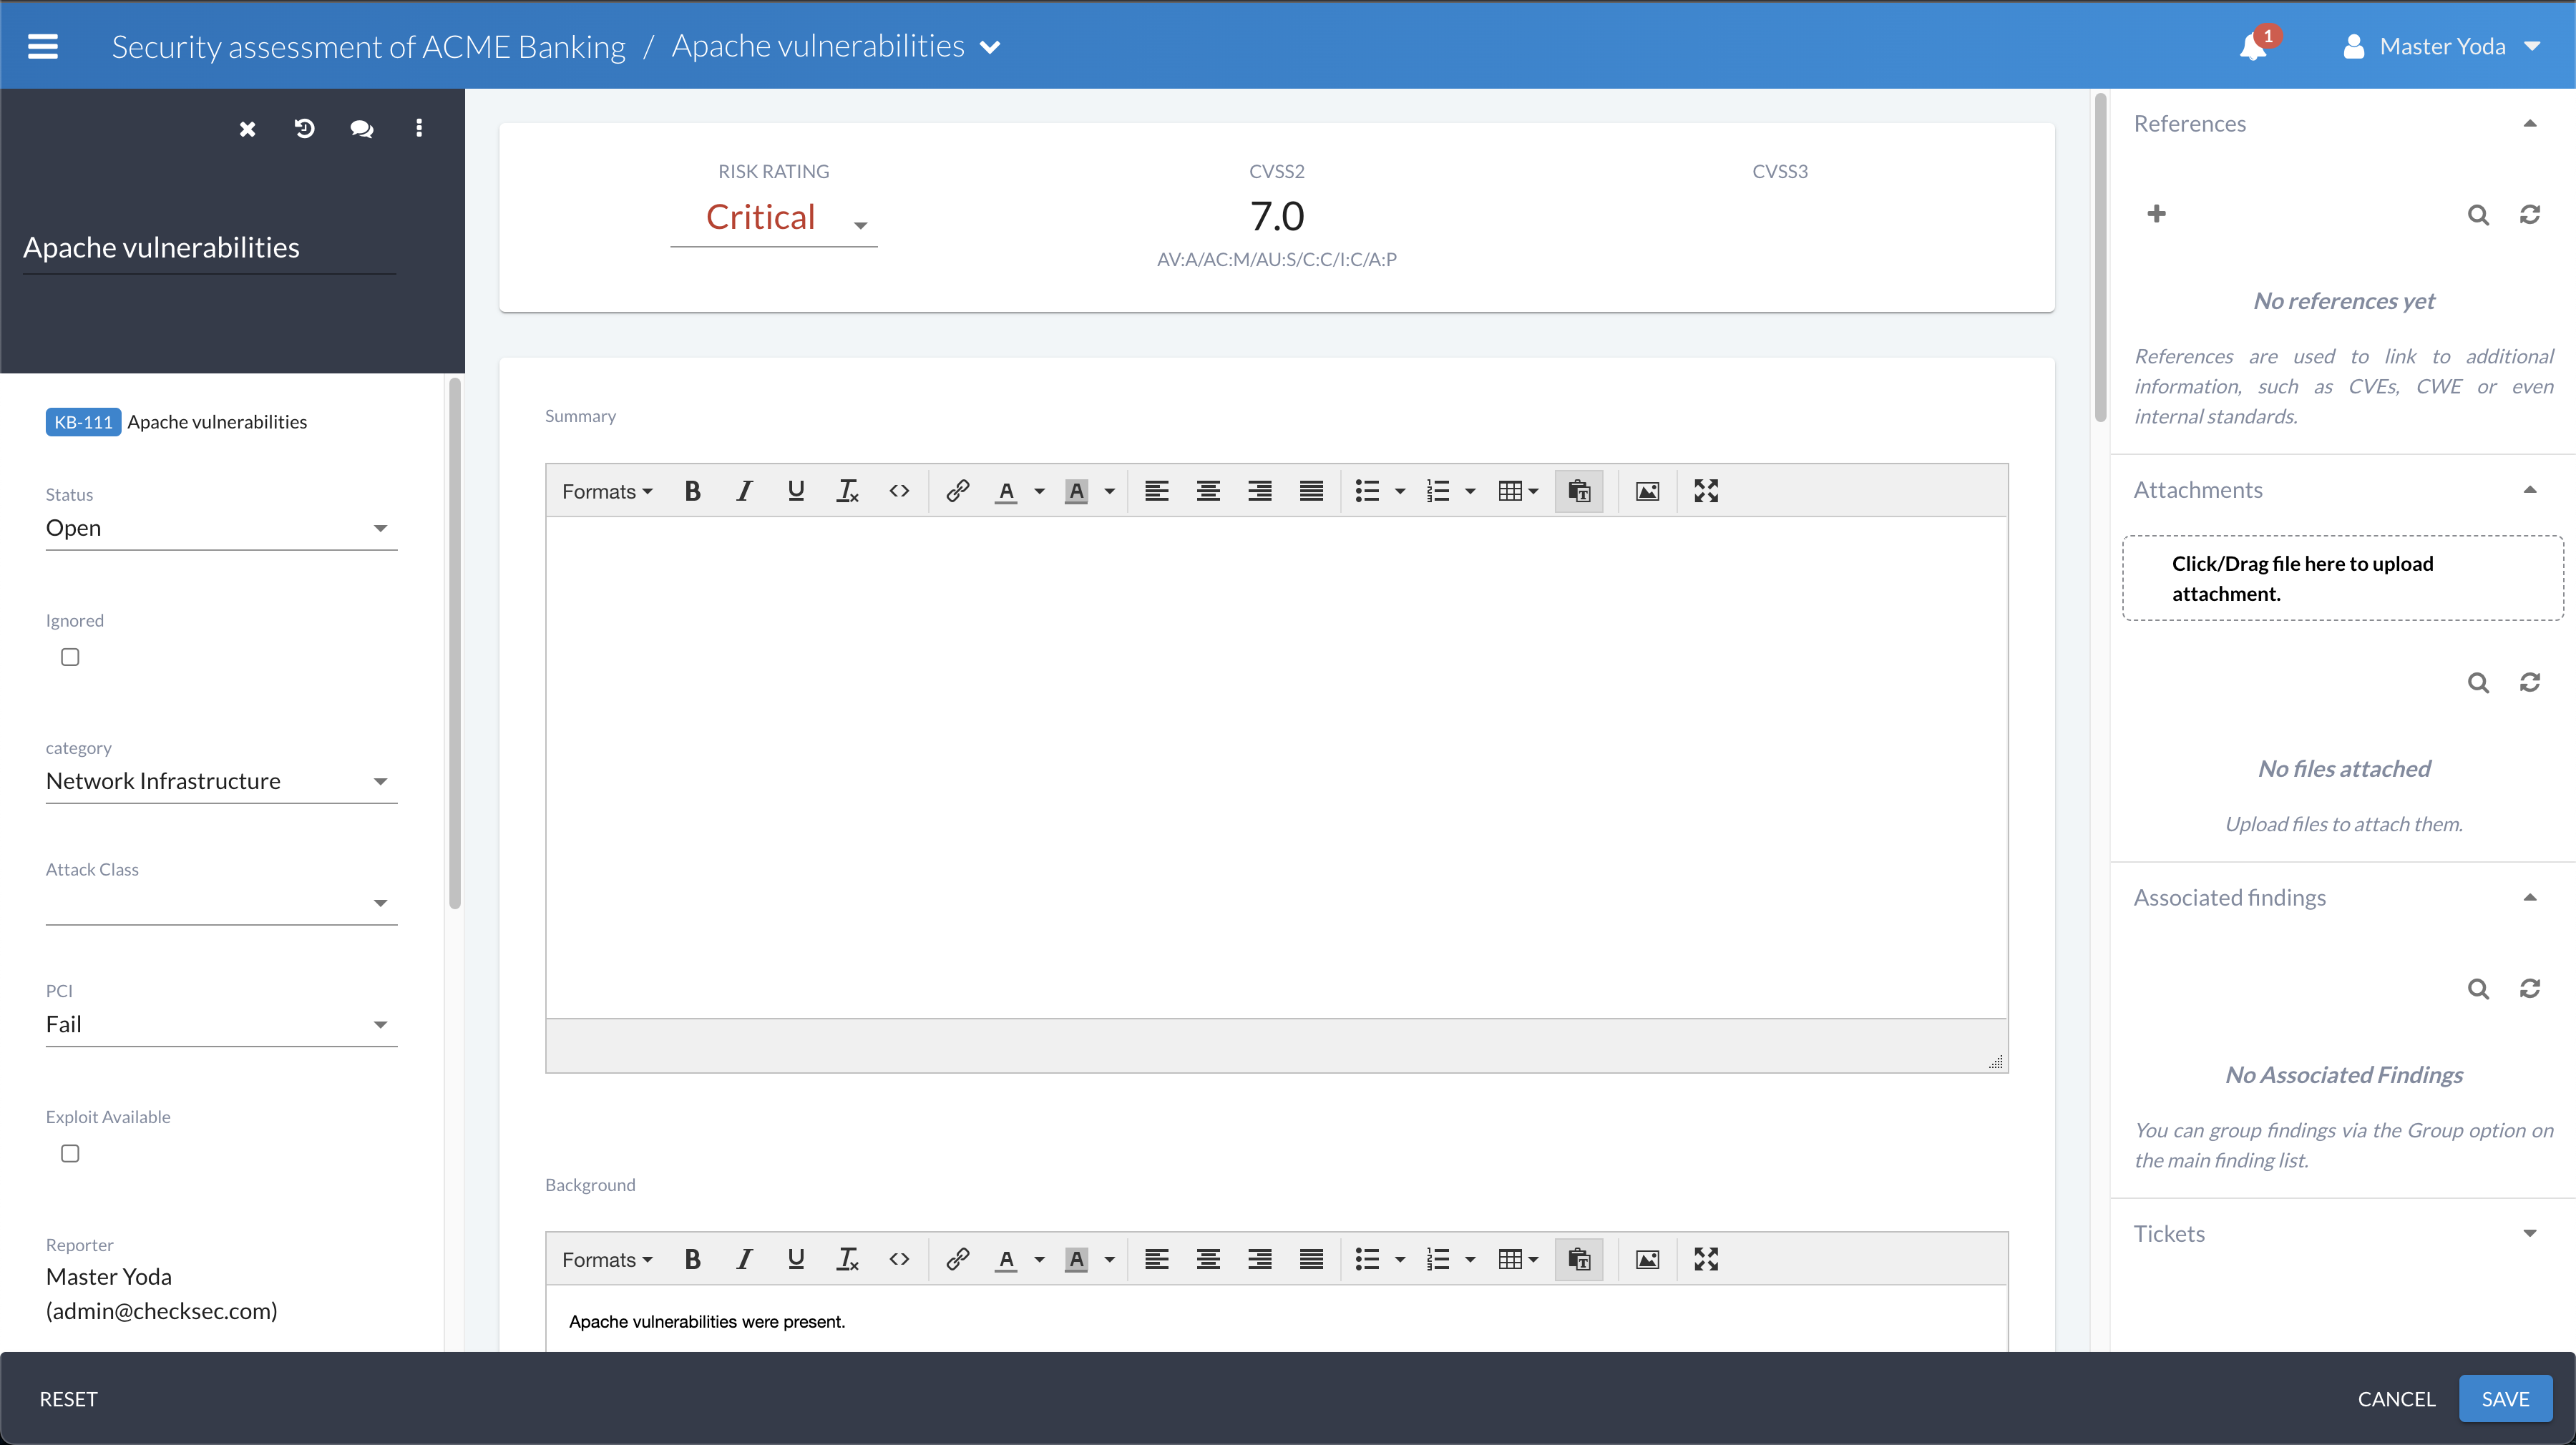
To edit in full field mode click on the edit icon. You will see the finding presented with all fields enabled for editing, and options on the bottom of the page to save or cancel the modifications.
Rating systems
Finding rating systems are used to tailor Canopy to the risk rating needs of each company and their clients. By default, Canopy uses a Critical-to-Info rating system alongside CVSSv2, CVSSv3 and CVSSv4.However, when users need their own rating system this can be added through the use of custom fields (i.e. to storing rating values) and a custom rating calculator plugin. This gives Canopy significant flexibility in adapting to the specific needs of each company that uses it.
We are happy to provide support in adding custom finding rating systems. We also provide support material to help write your own. For further information, see Extending Canopy.
Link assets to findings
The link assets feature allows you to associate assets with findings, making it easier to track which systems or components are affected by each finding:
Access the phase of the project containing the findings you want to link assets to.
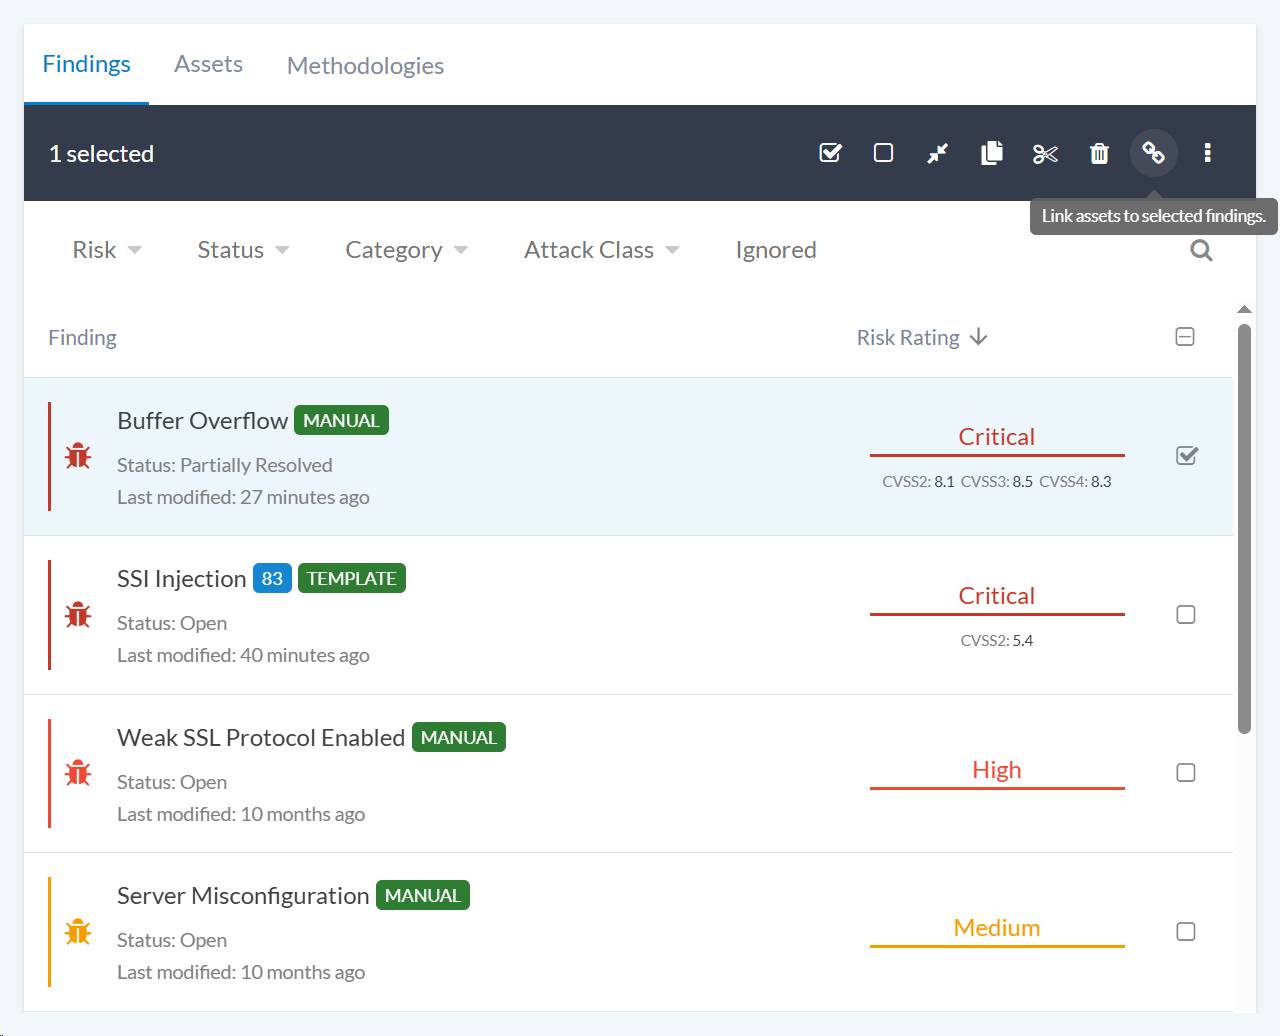
Select the finding(s) you want to link assets to by checking the boxes next to them.
Click the “Link assets to selected findings” button in the toolbar.
Select the assets you want to link from the modal that appears.
After clicking the “Link assets to selected findings” button, a modal dialog will appear allowing you to select existing assets or create new ones:
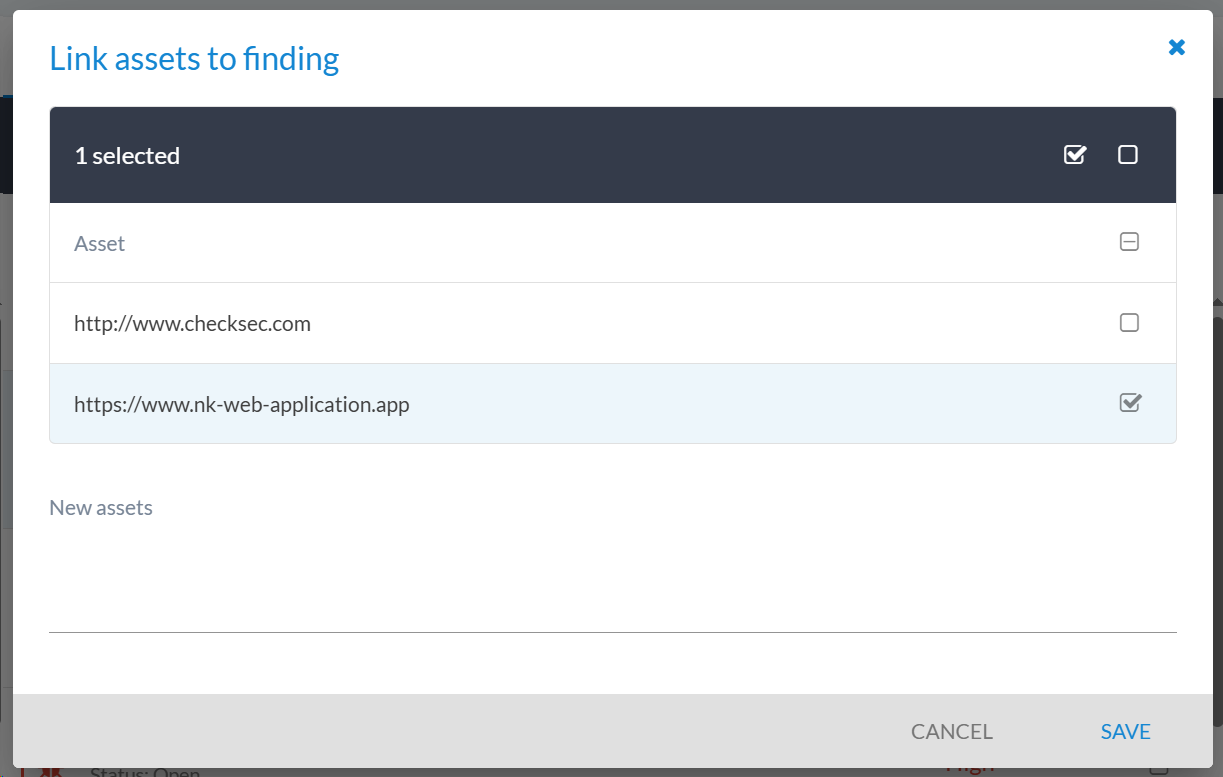
The modal provides options to:
Select from existing assets
Create new assets on the fly
Search and filter available assets
Adding a finding to the KB
Canopy’s Findings Knowledge Base (KB) provides a useful way for storing reusable findings. This is quite common practice in industry, although used to varying degrees. In order to add a finding to the KB:
Access the finding view from the phase findings list (or project phase list).
Click on the ellipsis and click the Add to KB option.
The finding will then be added in an unapproved state to the KB.
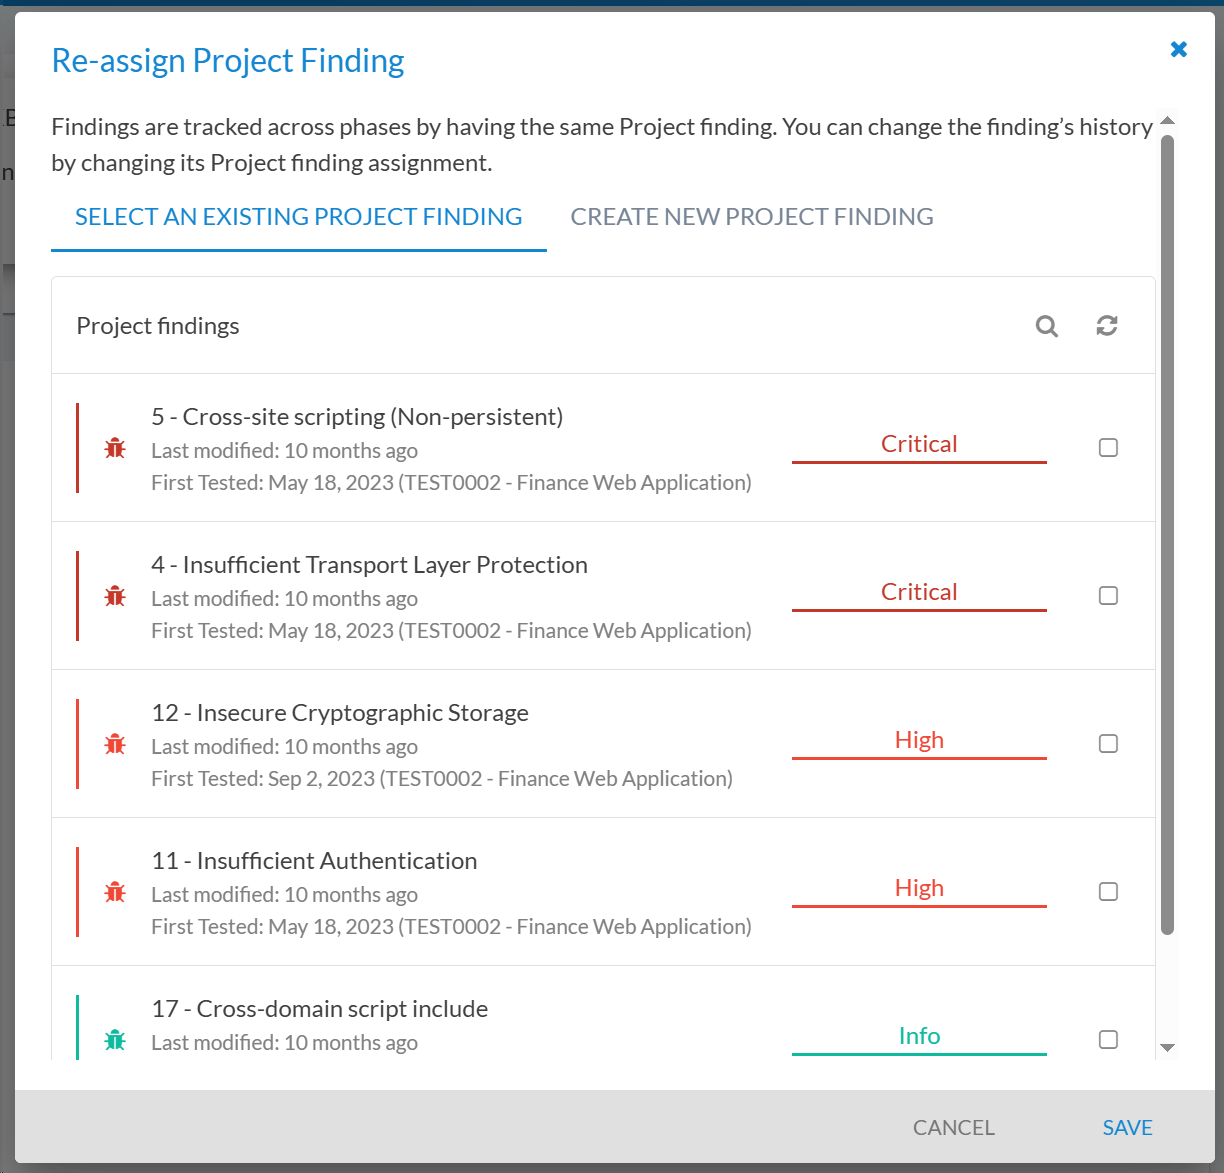
Reassigning a project finding
Findings are tracked across phases by having the same Project finding ID. The reassign feature allows you to change a finding’s history by modifying its Project finding assignment:
Access the finding you want to reassign.
Click on the “More” options (3 dots icon).
Select “Re-assign Project Finding” from the dropdown menu.
Choose to assign the finding to an existing project finding or create a new project finding.

After selecting “Re-assign Project Finding”, a modal dialog will appear with options:
The reassign feature is useful when:
You need to correct a finding that was incorrectly assigned
You want to merge a finding’s history with another related finding
You need to split findings that were incorrectly grouped together
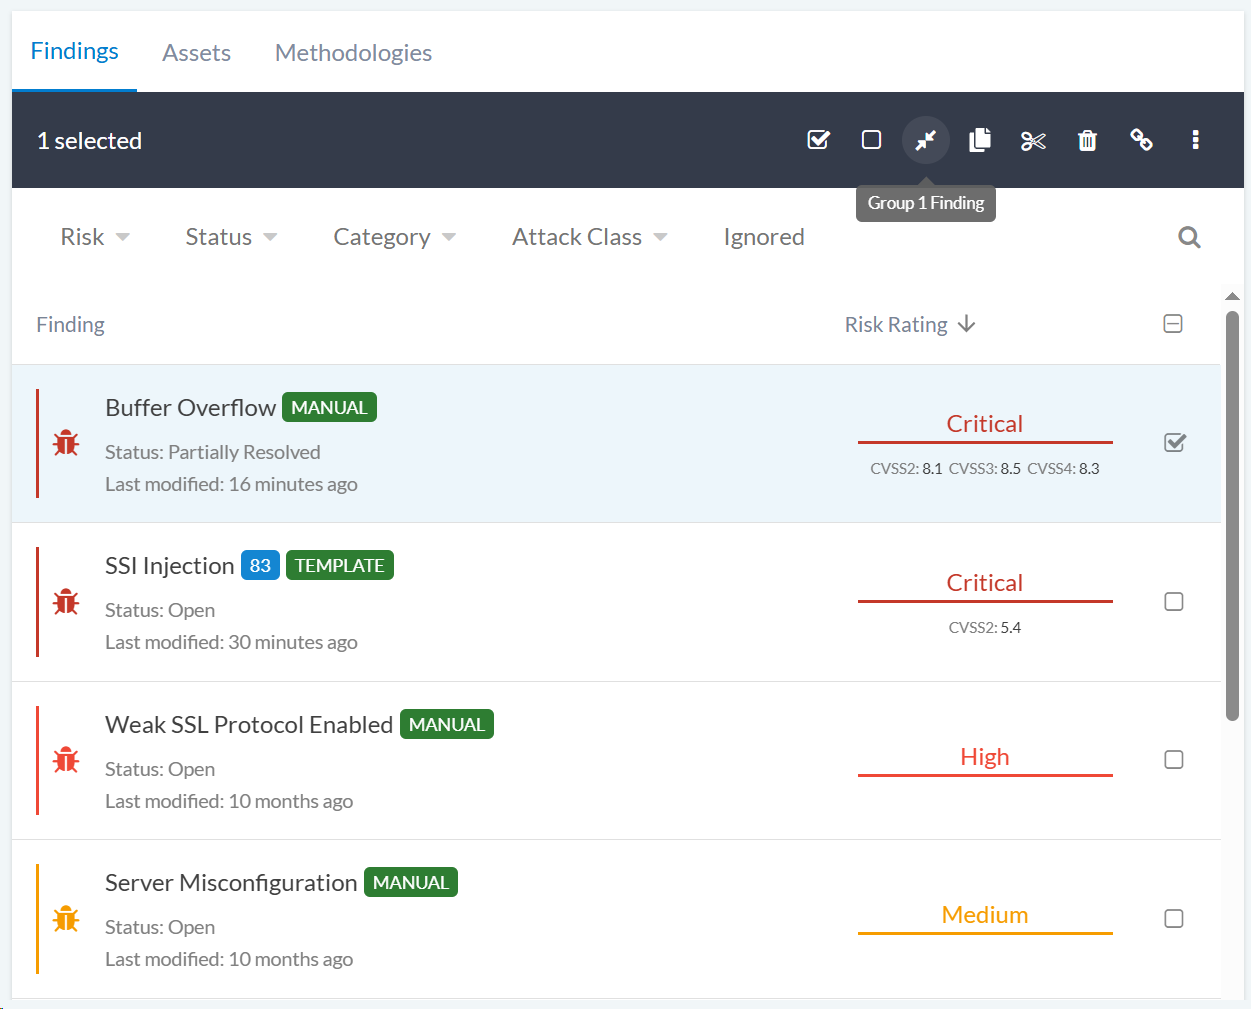
Grouping findings
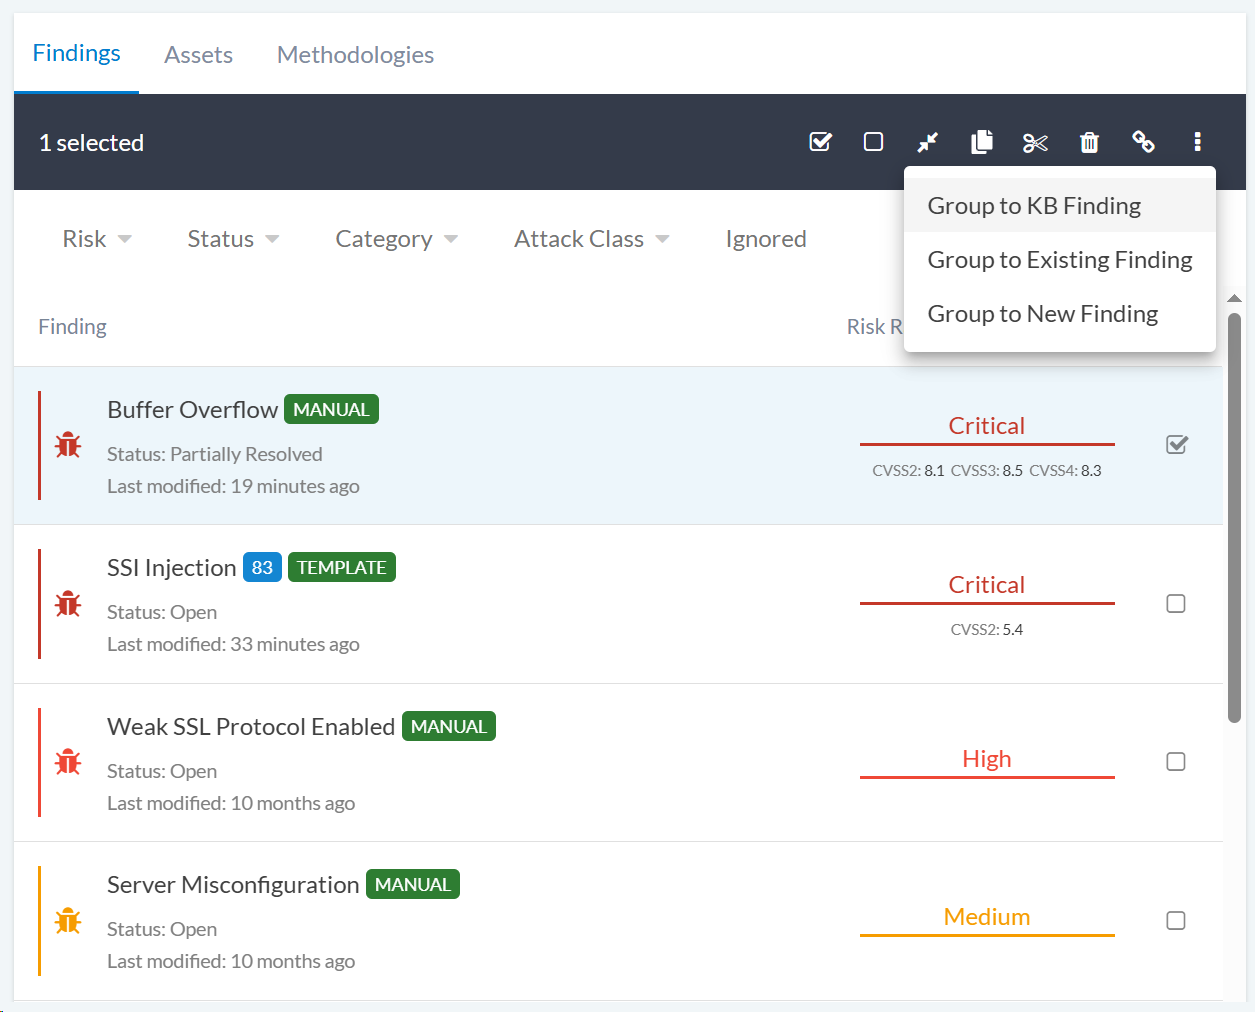
Grouping allows you to combine multiple findings into a single entity. This is useful when similar issues are found across multiple assets or when different instances of the same vulnerability type need to be consolidated. Findings can be grouped in three ways:
Group to a KB Finding: Consolidate findings under an existing KB finding template
Group to an Existing Finding: Add findings to another finding that already exists in the project
Group to a New Finding: Create a new finding that combines the selected findings
To group findings:
Access the phase of the project containing the findings you want to group.
Select the findings you want to group by checking the boxes next to them.
Click the group icon in the toolbar.
Select whether to group to a KB finding, existing finding, or new finding.
Select the finding you want to group to.
When you click the group icon, you’ll be presented with the following three options:
Copy a finding
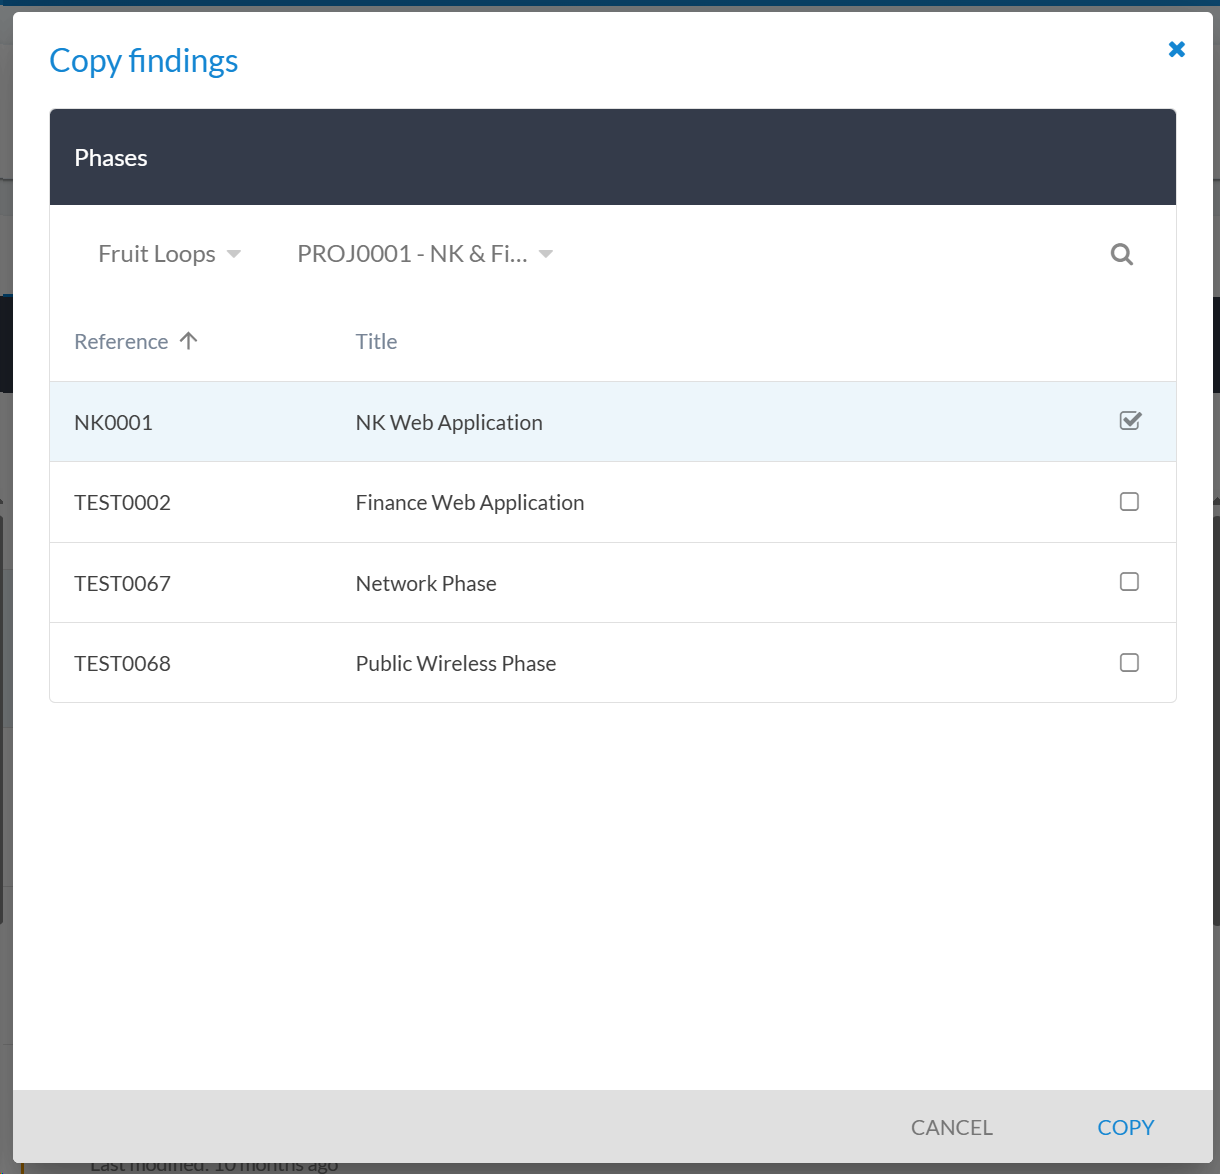
The copy feature allows you to duplicate a finding within the same phase or to another phase:
Access the phase of the project containing the finding you want to copy.
Select the finding(s) you want to copy by checking the box next to them.
Click the copy icon in the toolbar.
Select the destination phase and confirm.
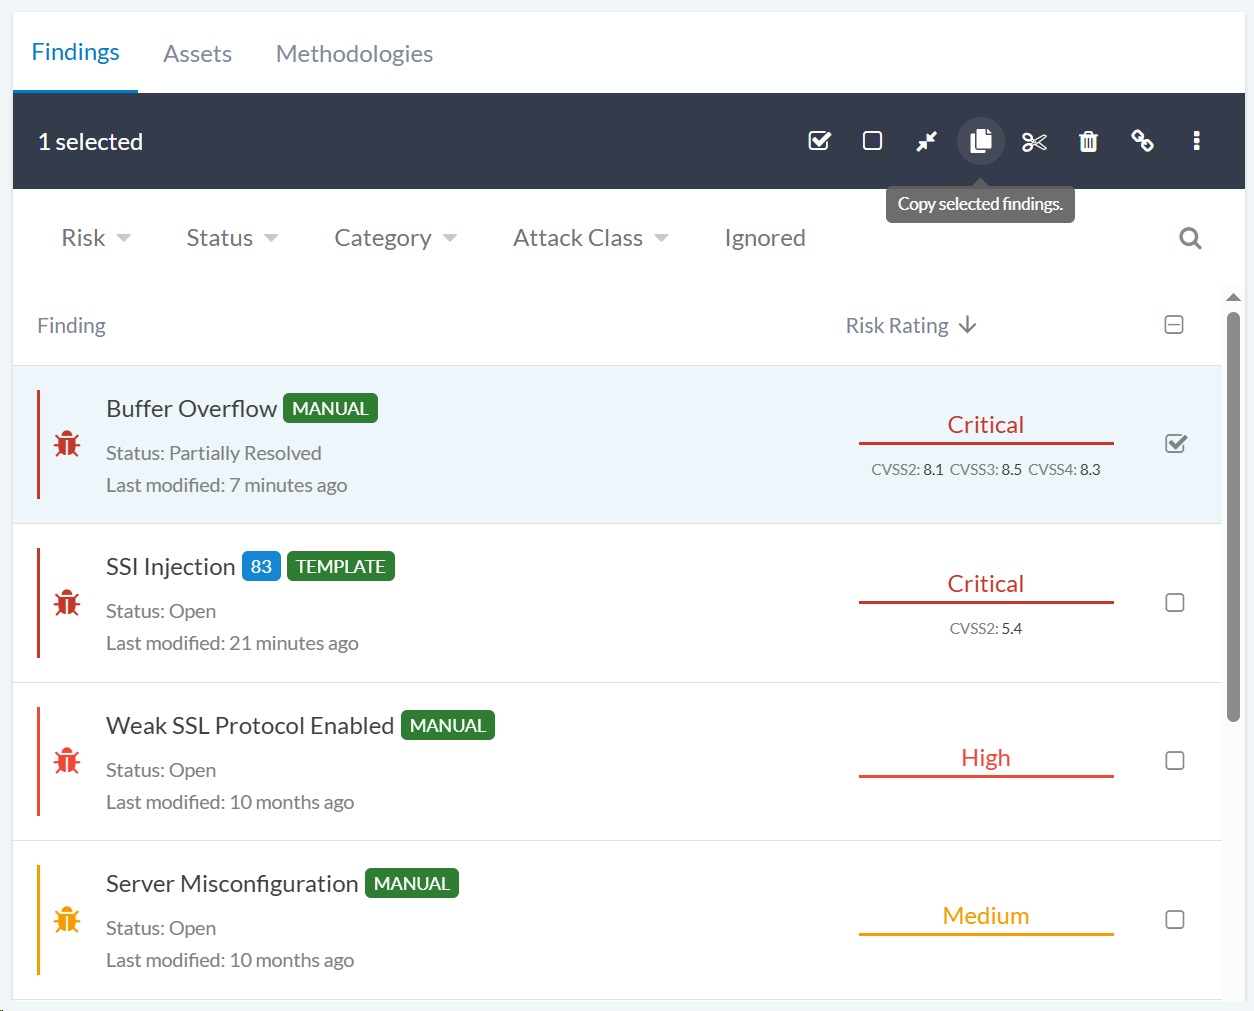
After clicking the copy icon, a modal dialog will appear allowing you to select the destination phase:
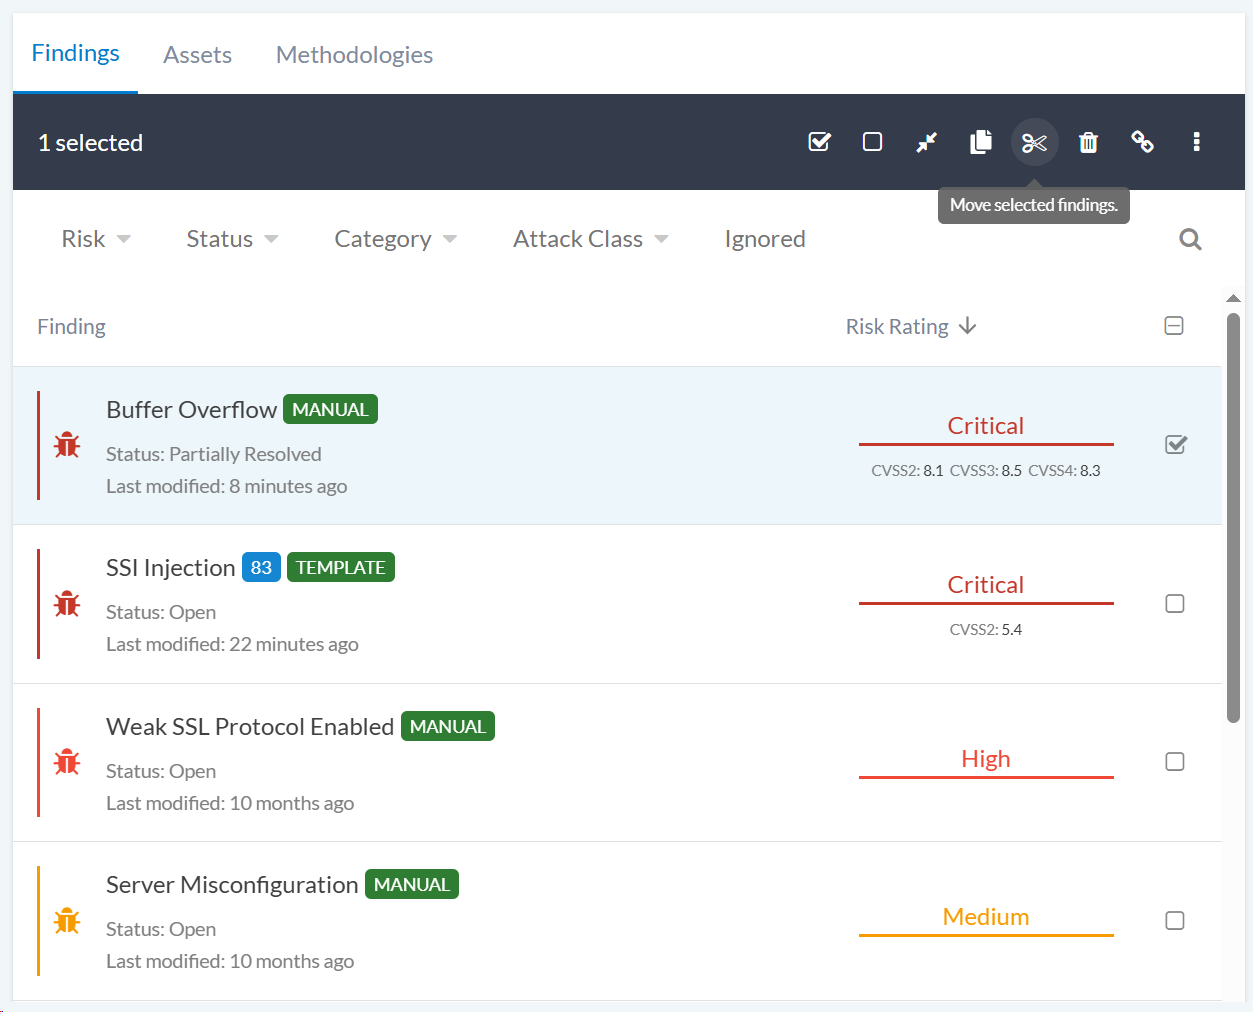
Move a finding
The move feature allows you to relocate a finding from one phase to another:
Access the phase of the project containing the finding you want to move.
Select the finding(s) you want to move by checking the box next to them.
Click the move icon in the toolbar.
Select the destination phase and confirm.
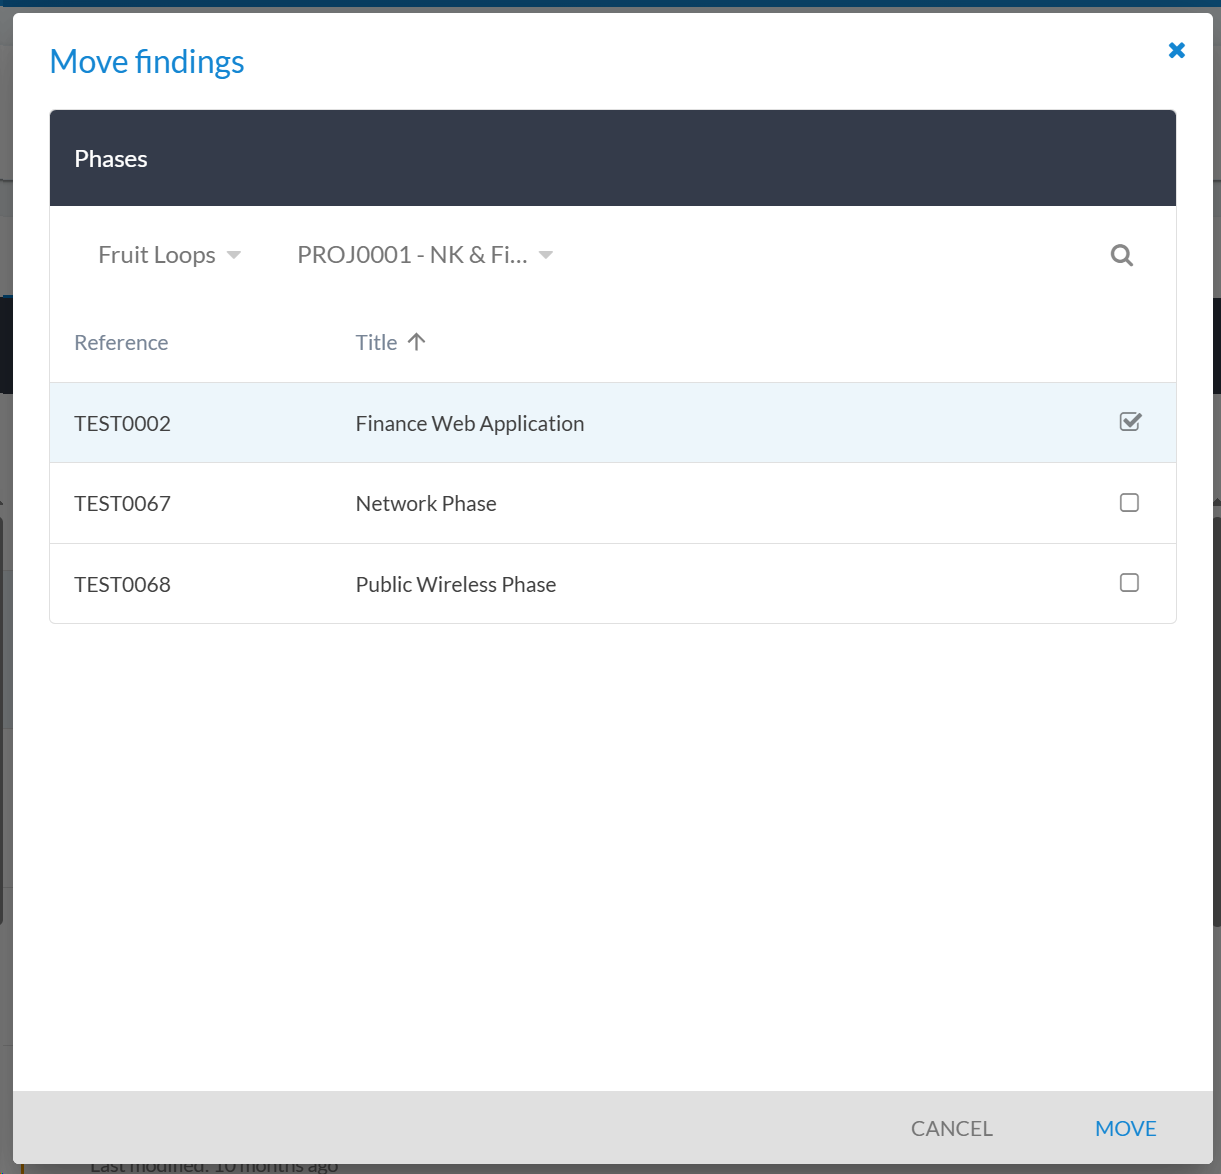
After clicking the move icon, a modal dialog will appear allowing you to select the destination phase:
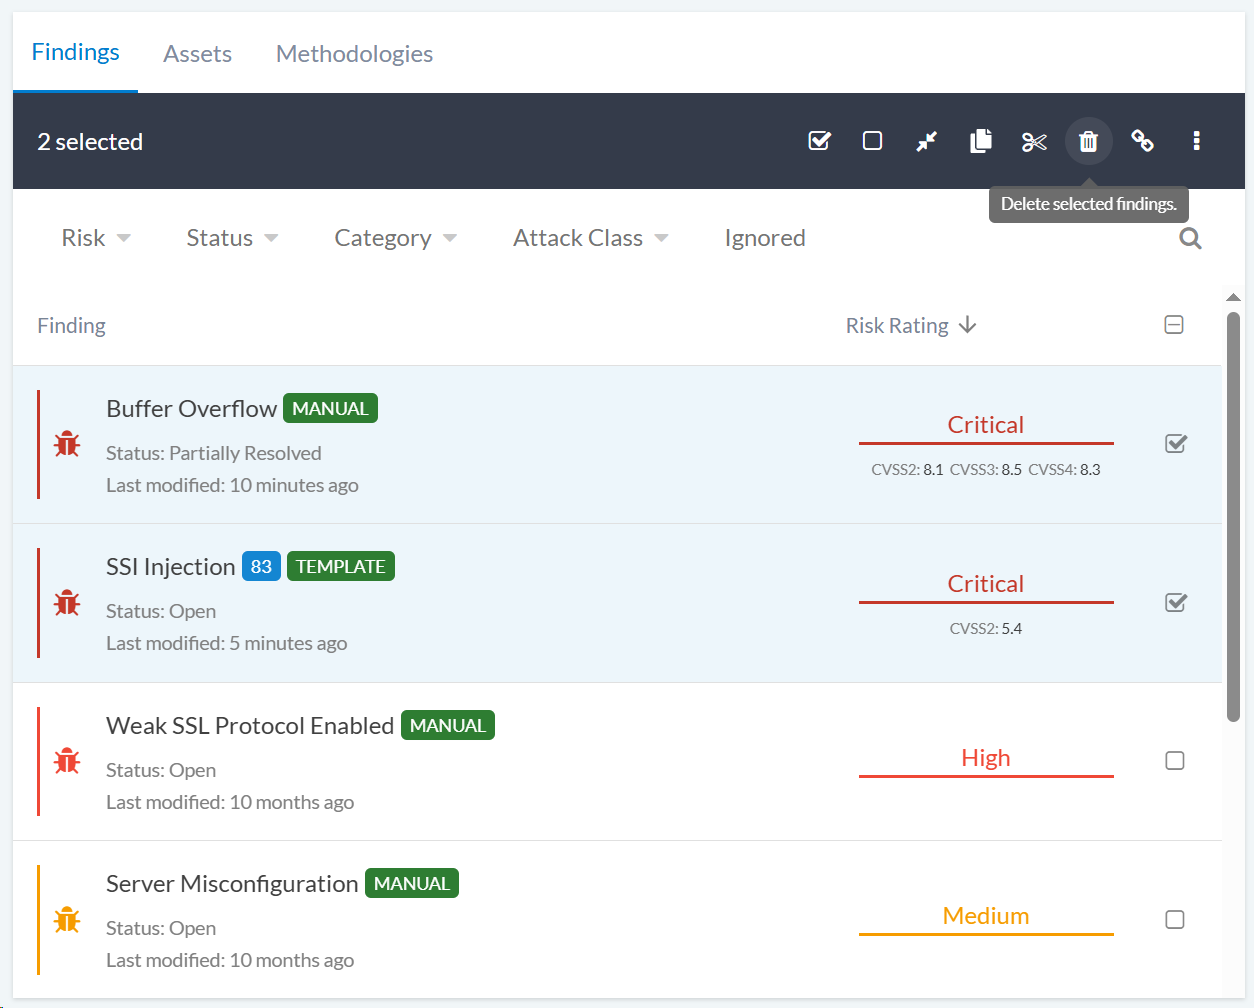
Deleting a finding
The delete feature allows you to remove findings from a phase:
Access the phase of the project containing the finding you want to delete.
Select the finding(s) you want to delete by checking the box next to them.
Click the delete icon in the toolbar.
Confirm the deletion when prompted.
Ignoring findings
Ignoring findings allows you to temporarily hide findings that you don’t want to include in your current workflow or reports:
Access the phase of the project containing the findings you want to ignore.
Select the finding(s) you want to ignore by checking the boxes next to them.
Click the “More” options button (3 dots icon) in the toolbar.
Select “Ignore” from the dropdown menu.
Choose “Yes” to confirm.

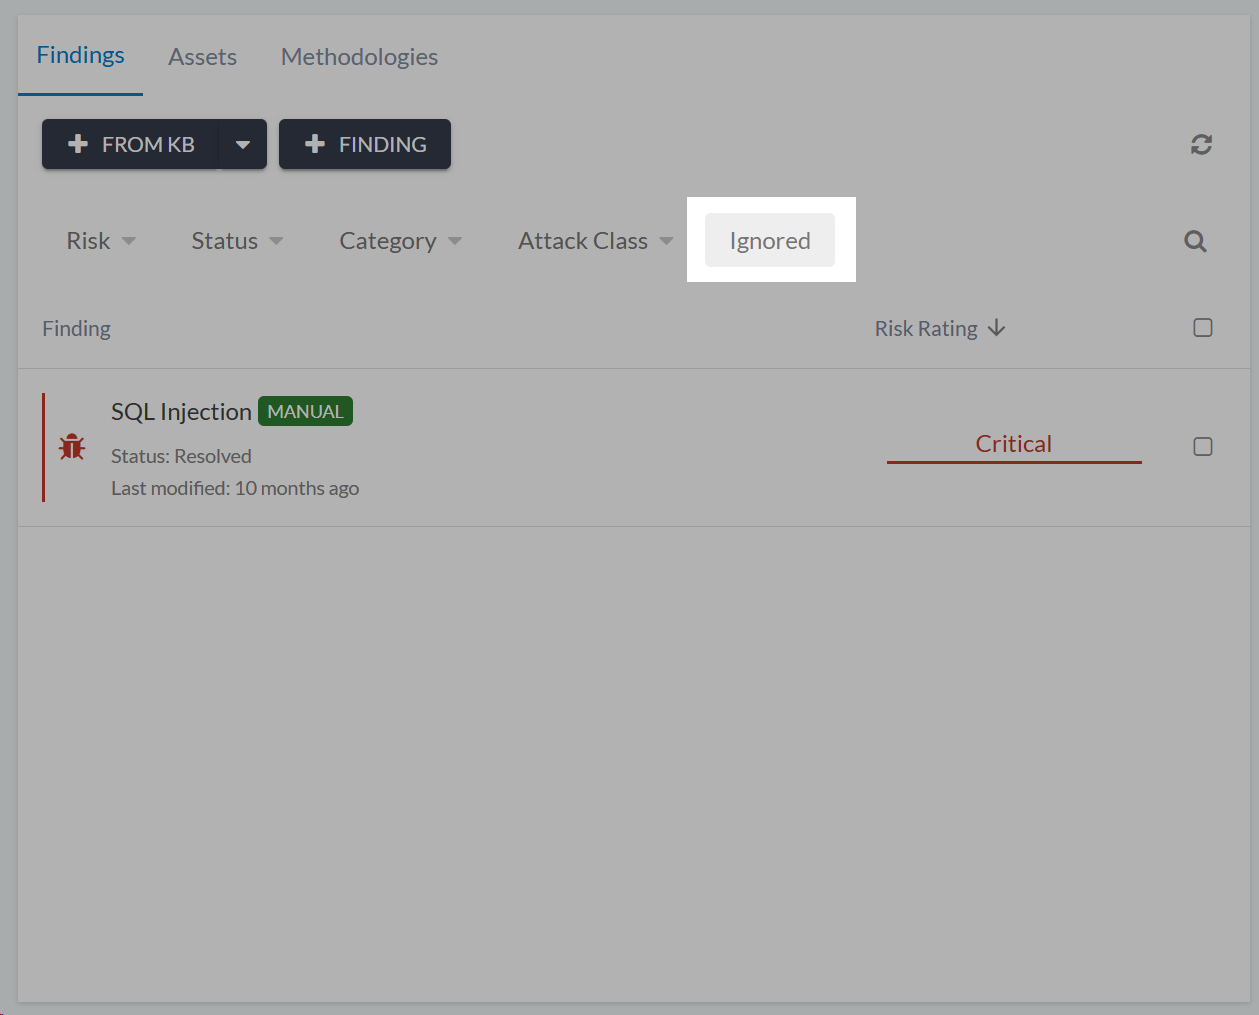
Ignored findings are not included in reports by default but remain in the system. You can view ignored findings by clicking on the “Ignored” button in the phase view:
Changing finding status
You can update the status of one or multiple findings at once:
Access the phase of the project containing the findings you want to update.
Select the finding(s) you want to change by checking the boxes next to them.
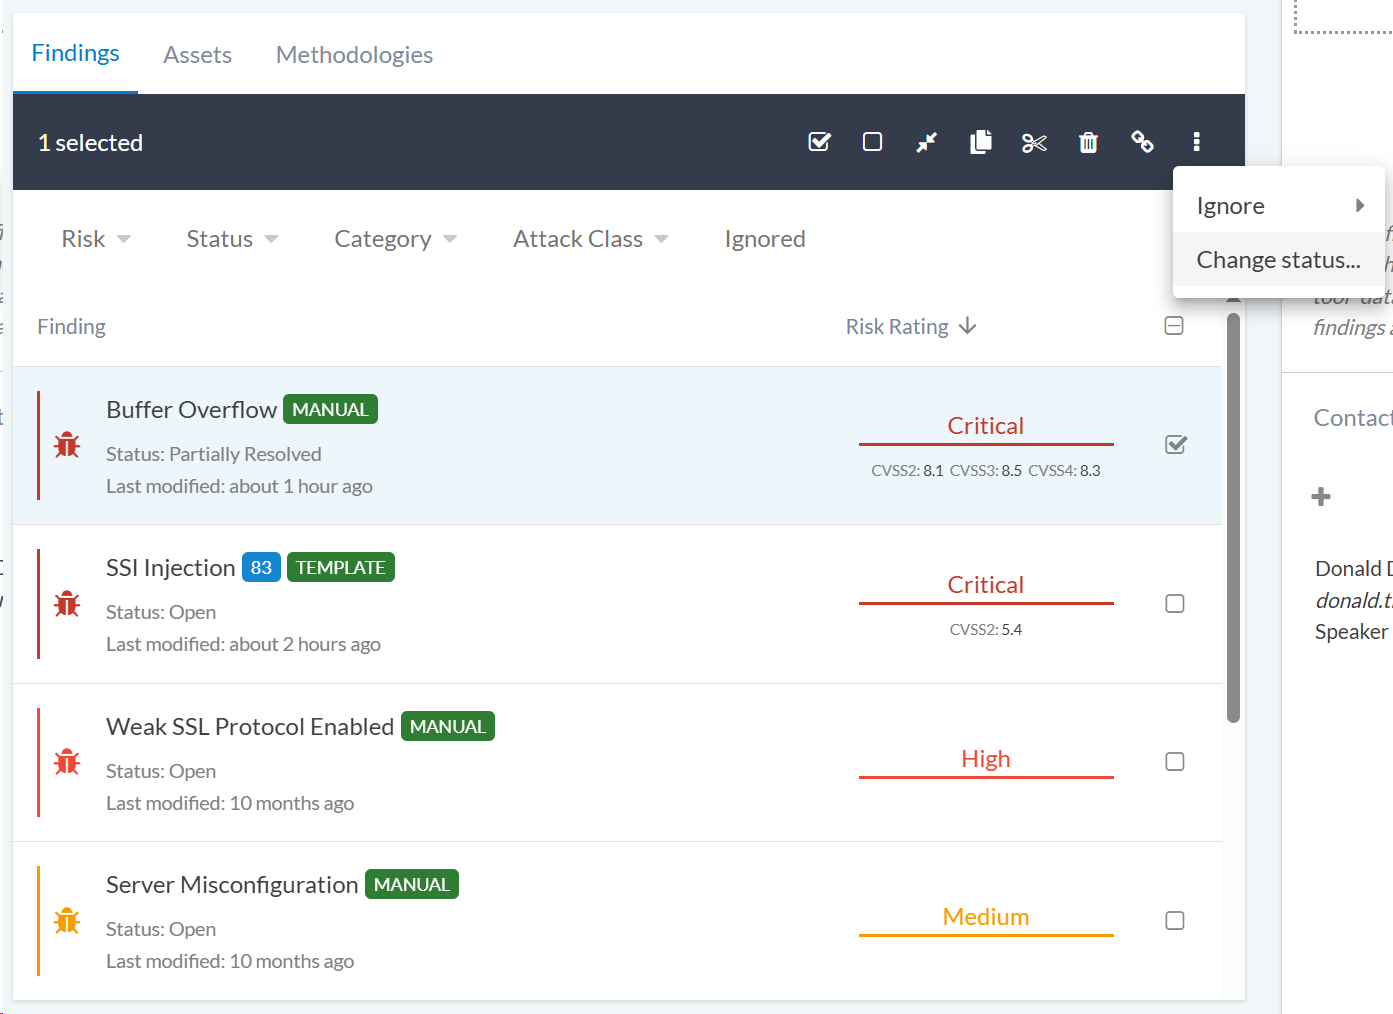
Click the “More” options button (3 dots icon) in the toolbar.
Select “Change status…” from the dropdown menu.
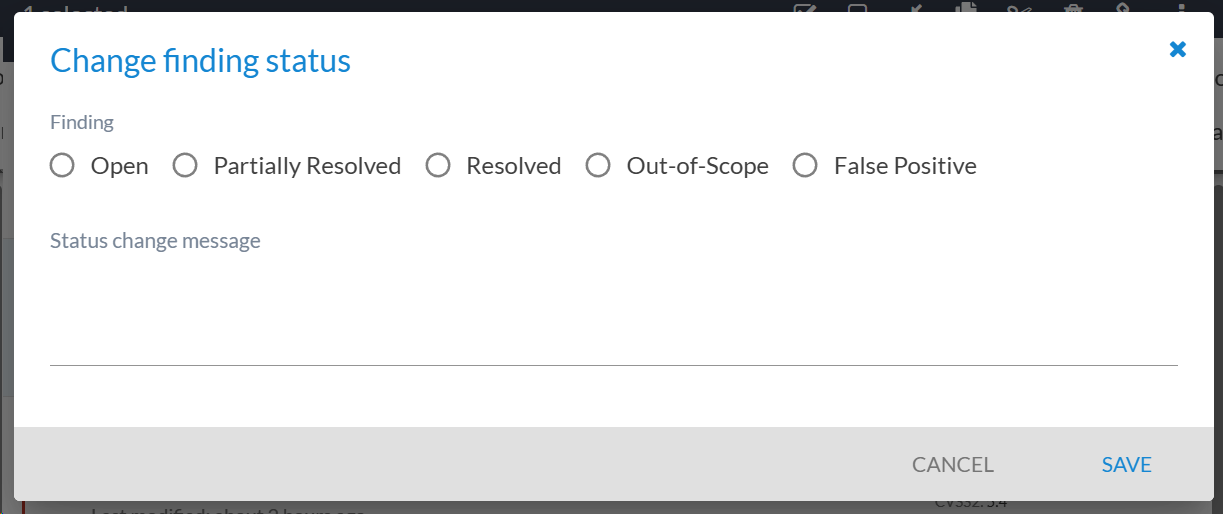
Choose the new status from the modal that appears.
After selecting “Change status…”, a modal dialog will appear allowing you to select the new status:
Statuses help track the progress of findings through the assessment lifecycle, from discovery to verification and remediation.
Exporting findings
Findings can be exported as part of a phase export.