Projects
A project is a top-level container for organising phases and reports (which contain findings, assets, examples, and so on). It is a simple container, which allows for grouping multiple related phases together, organising long running or re-test phases, and managing client reports.
Access control
Certain users have default access to and the ability to create projects, while others need to be granted access. By default, the following users are able to access projects:
Role |
Permissions (relating to projects) |
|---|---|
Administrators |
ALL access to projects |
Technical Managers |
ALL access to projects |
Sales Managers |
ALL access to projects |
Senior Analysts |
Ability to create projects |
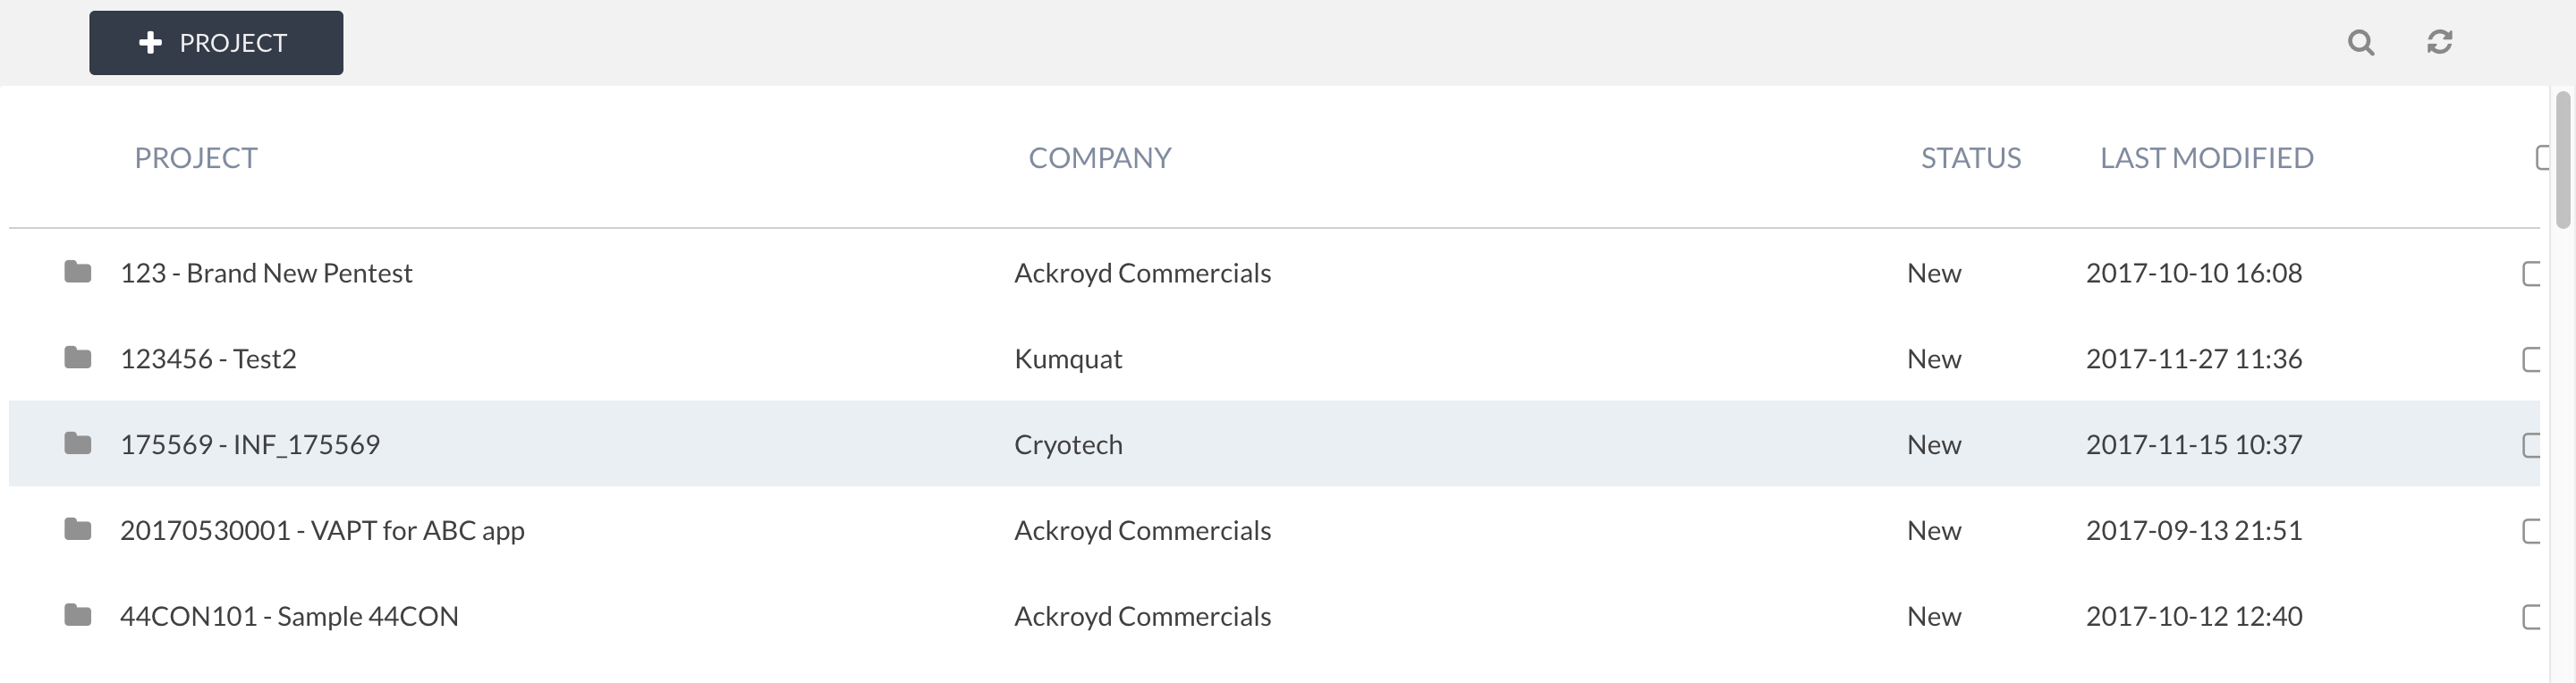
Listing projects
The project list can be accessed either from within a client view or from the navigation menu Projects link. The list provides access to projects that the user has access to, and can be filtered as required.
Adding a project
To add a project:
Click on the + PROJECT button on the client view or on the project list page.
Complete the form. Note that certain fields, such as the client, a reference, and start/end/report due dates are mandatory.
Save
Define the access requirements (usually who will be working on the project)
Save again
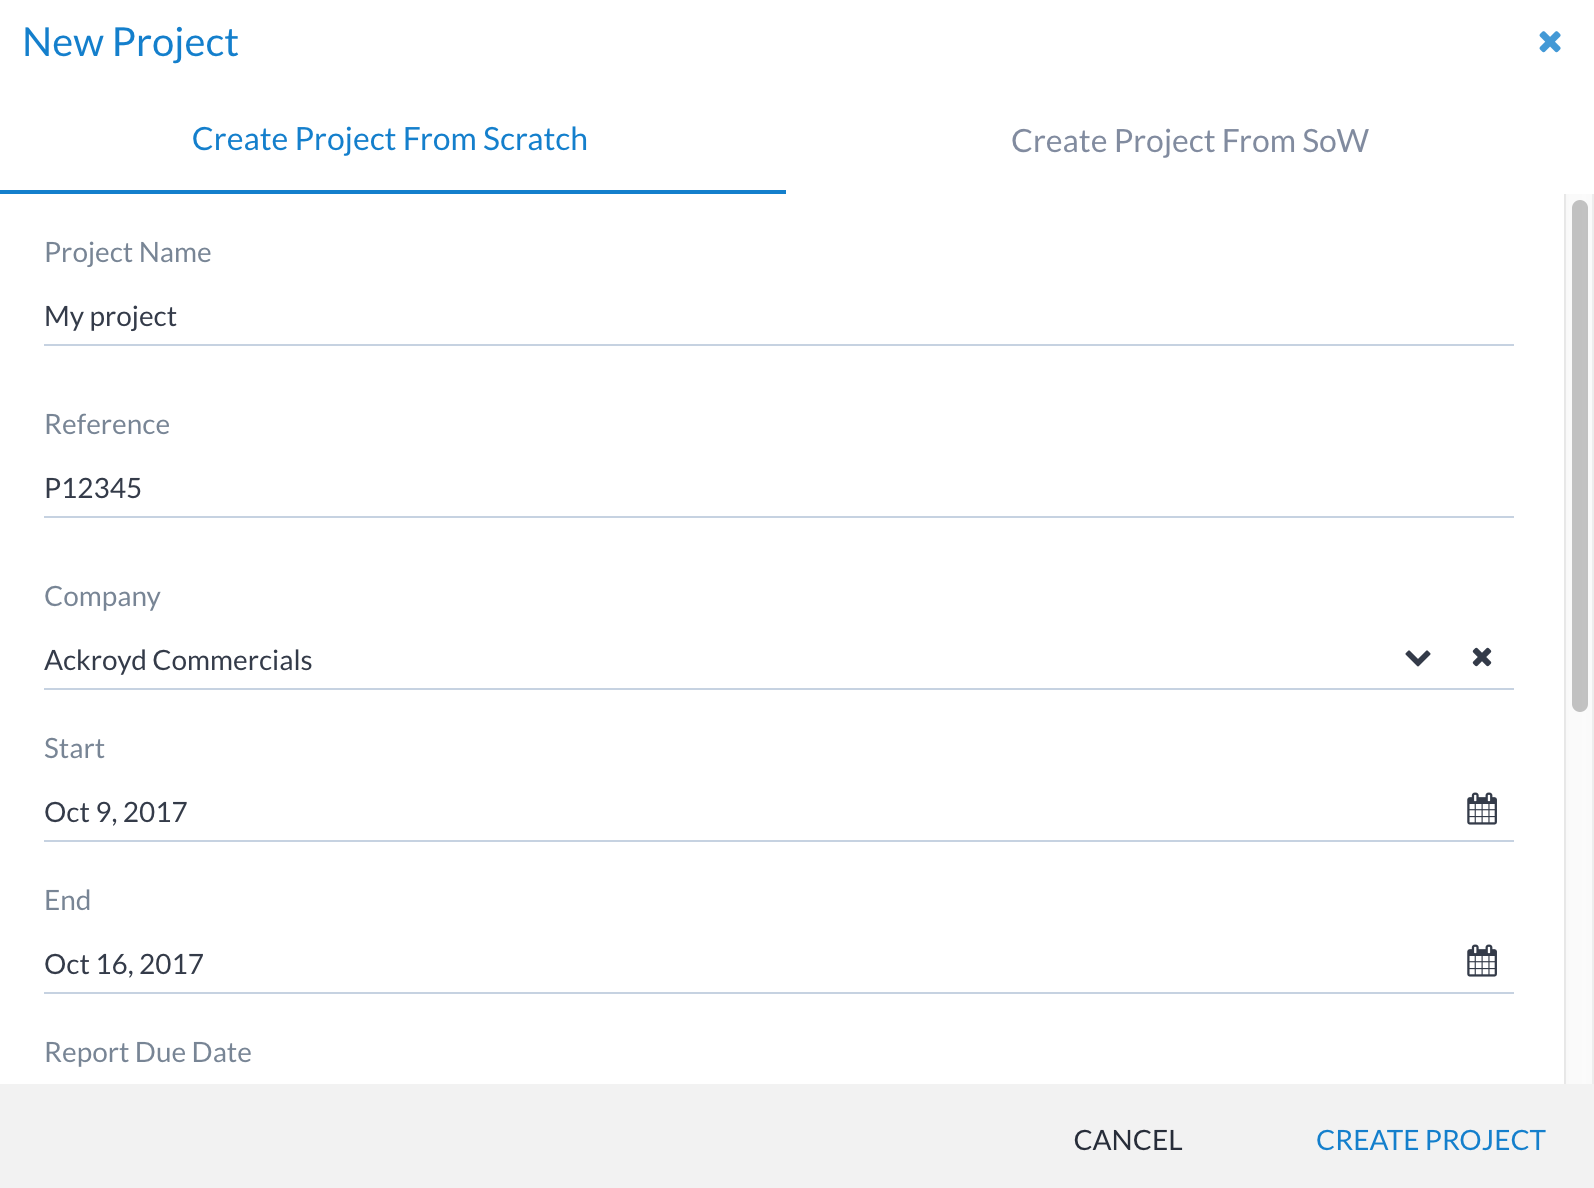
A project reference is mandatory as this is used to uniquely track a project within Canopy.
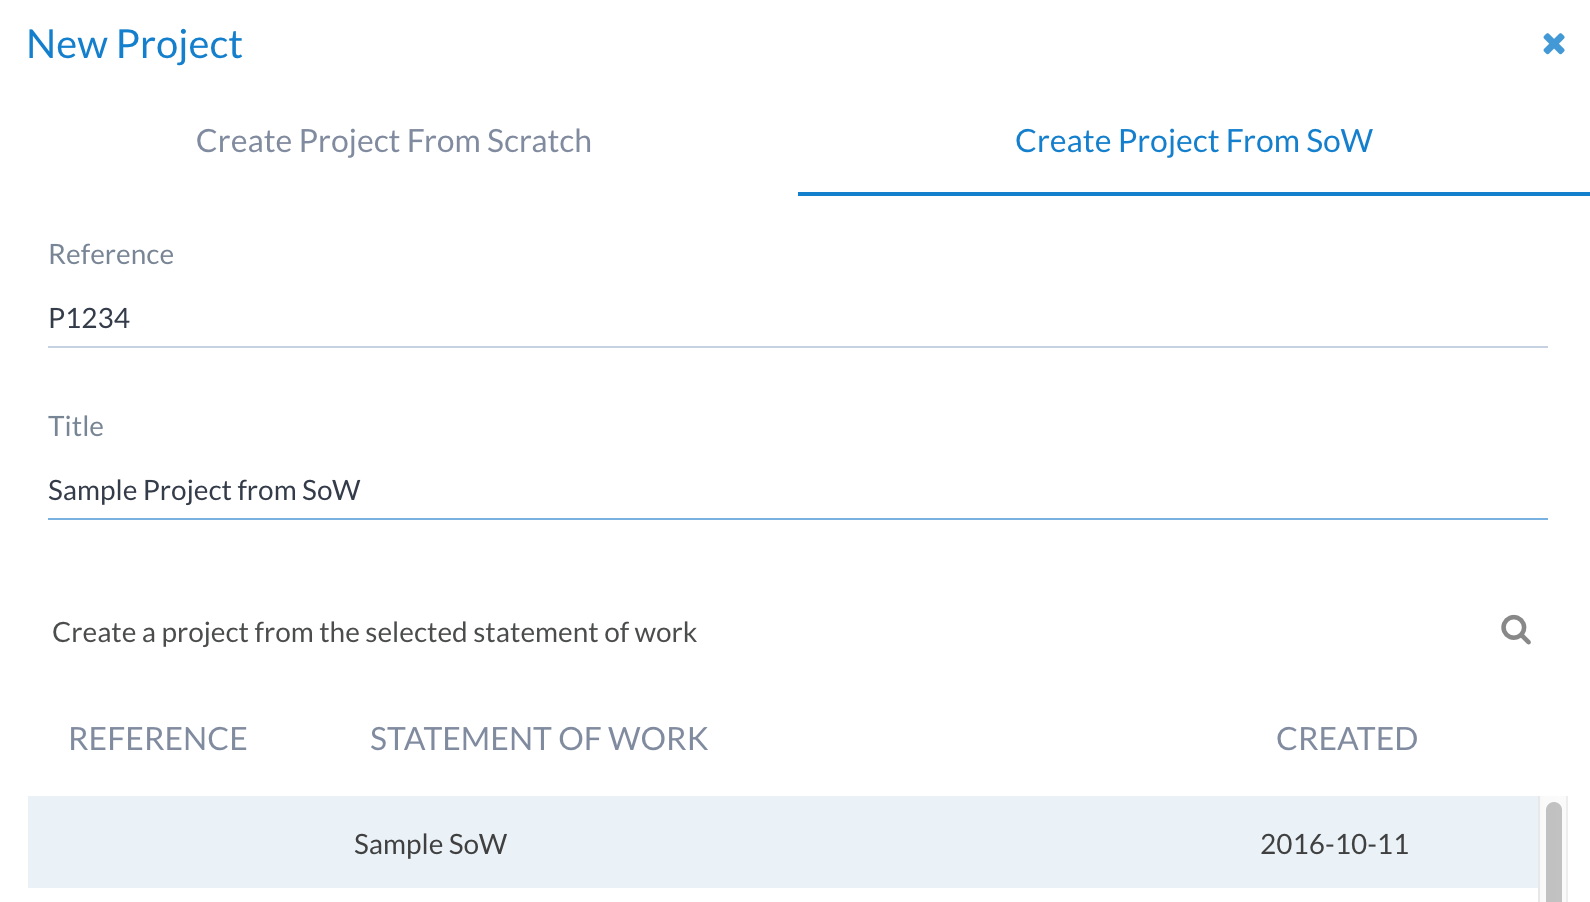
It is also possible to add a project from a SoW - either from the SoW view or from the New Project window:
The project view
The project view page gives an overview of the project and access to all of the phases and reports related to the project. For example:
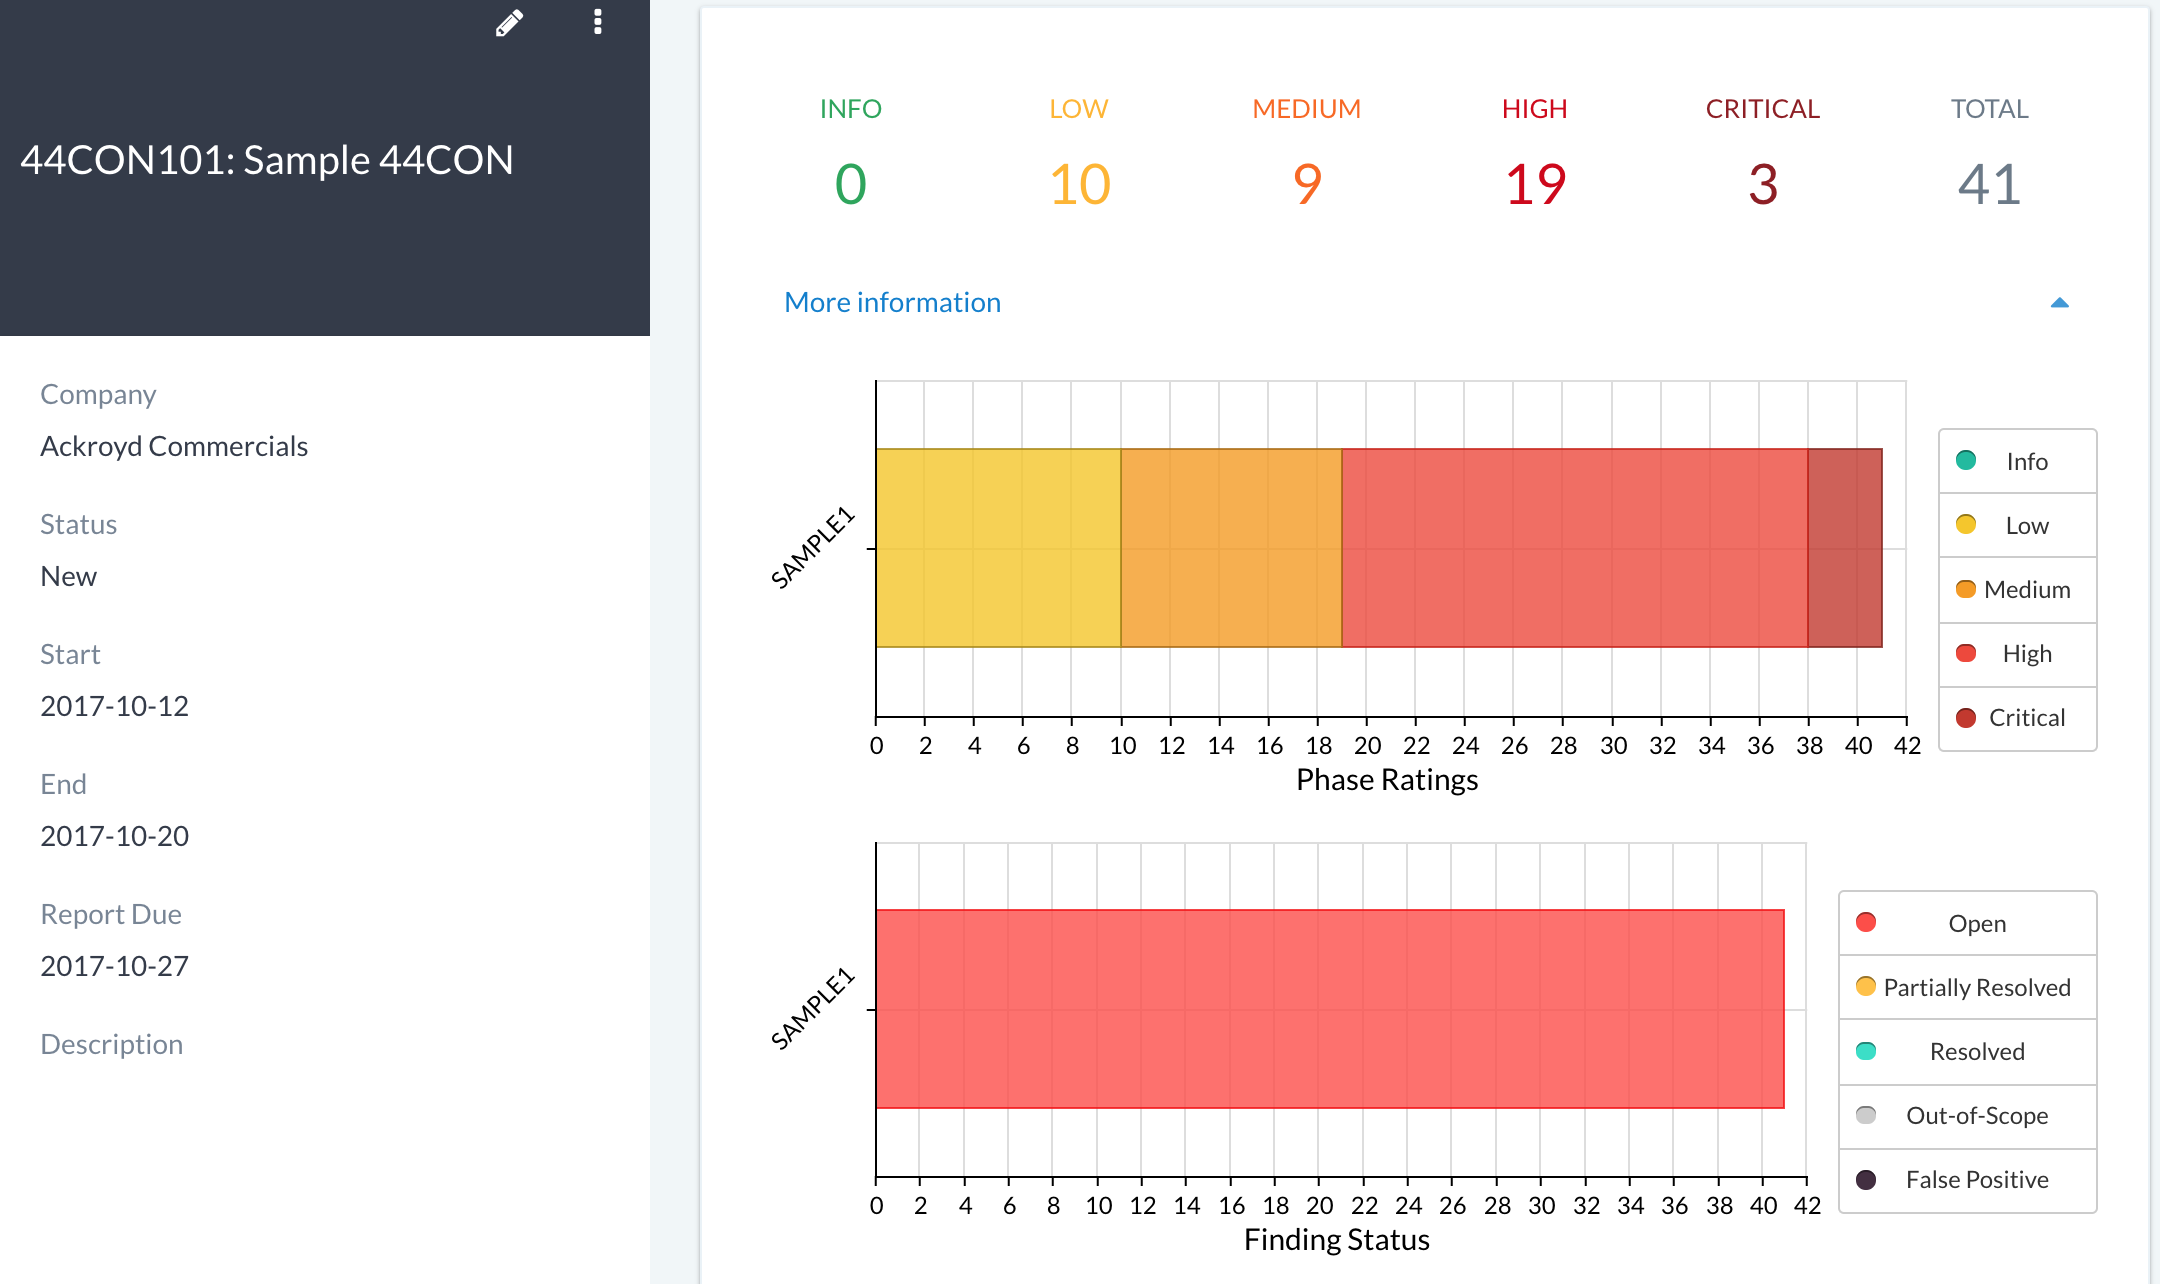
The summary charts break down:
Total findings by risk rating per phase
State of findings per phase (useful for tracking progress during re-tests)
From the project view it’s possible to add (and delete) phases:
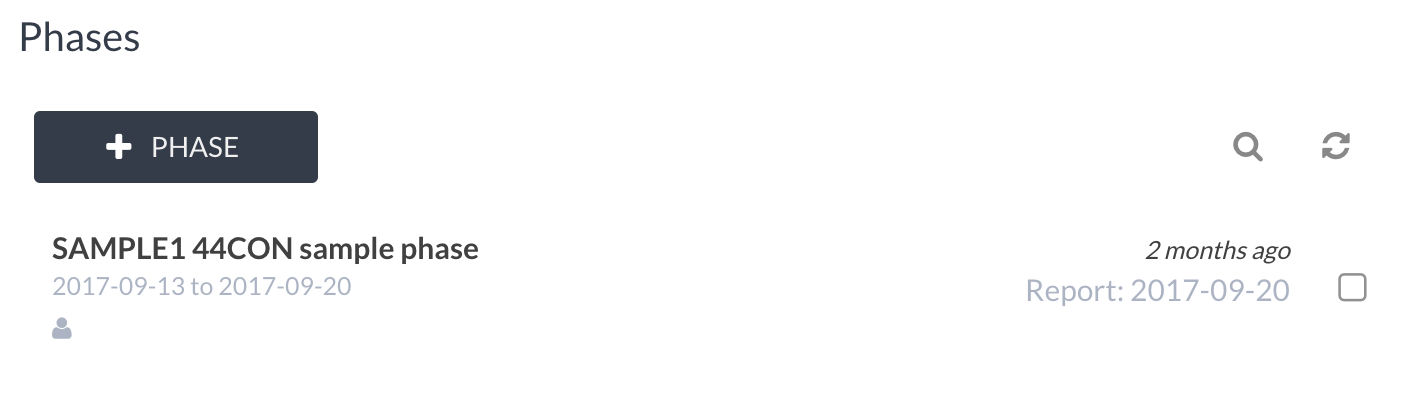
And also to add (and delete) reports:

Editing a project
To edit a project:
Access the project view (from the client view or from the main project list)
Click the edit icon
Edit and save
Adding contacts to a project
It may be desirable to associate contacts with a project, so users have a list of people who can be contacted for support, etc. This can be achieved through the contacts list on the main project view:
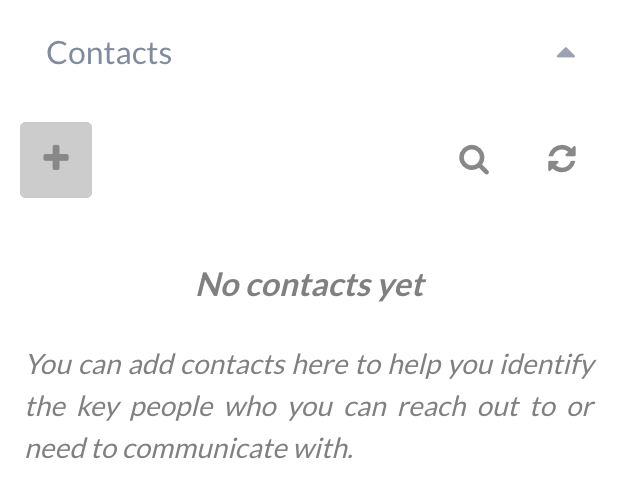
You can use this to add contacts who have already been created.
Deleting a project
Warning
This is a one way process and cannot be undone.
To delete a project:
Access the project view (from the client view or from the main project list)
Click the ellipsis and click the Delete menu item
Confirm
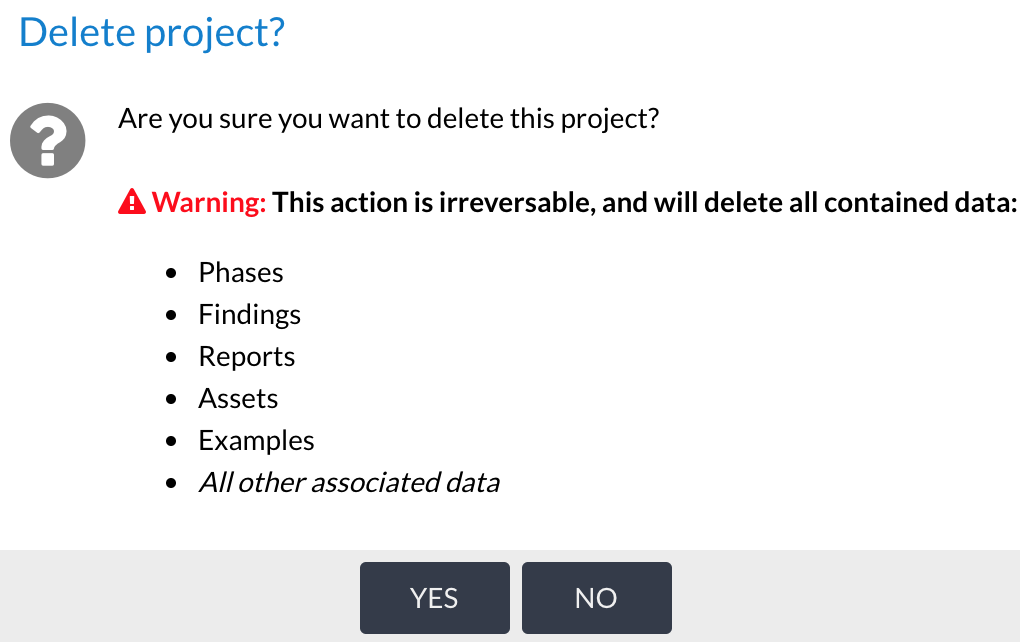
The error message makes it clear that deletion of a project should only be carried out in specific situations where data loss is acceptable.